
DIY Easter Chocolates
These Easter Chocolates were inspired by a couple things. First off, the special memory of my grandma making each grandkid a big chocolate peanut butter egg. She would wrap each one in foil and give to us on Easter Sunday when we came for the egg hunt. It was so delicious filled with a creamy peanut butter mixture and covered in chocolate.

Next, I wanted to do something a little different. One of my favorite candy bars is a Take Five, which consists of peanuts, caramel, pretzels and peanut butter all covered in chocolate. I found some fun Easter silicone molds to use HERE but you can also just use a muffin tin with paper liners or any mold you might have. So, I took my grandmother’s idea and made more of a smaller candy bar chocolate bite, perfect for gift giving (or enjoying yourself!) This recipe is very simple, yet impressive. Depending on the size of your molds, this recipe will make about 6 large or 12 medium chocolates.
Let’s begin!
Ingredients:
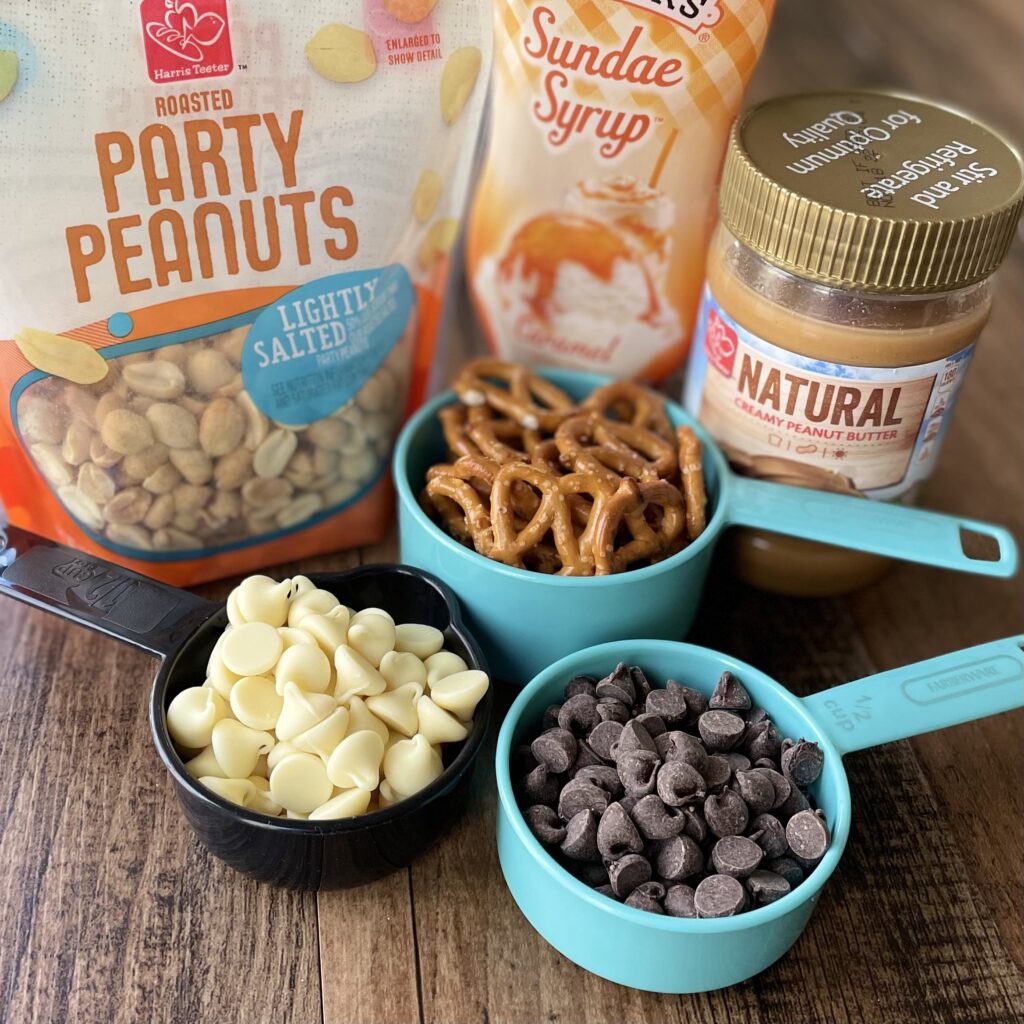
- 1/2 cup semi-sweet chocolate chips
- 1/2 cup white chocolate chips
- 1/2 cup creamy peanut butter
- 1/4 cup peanuts
- 1 tbsp caramel sundae syrup
- 1/4 cup crushed pretzels
Optional: You may substitute semi-sweet chocolate for milk chocolate chips, if desired.
Instructions:
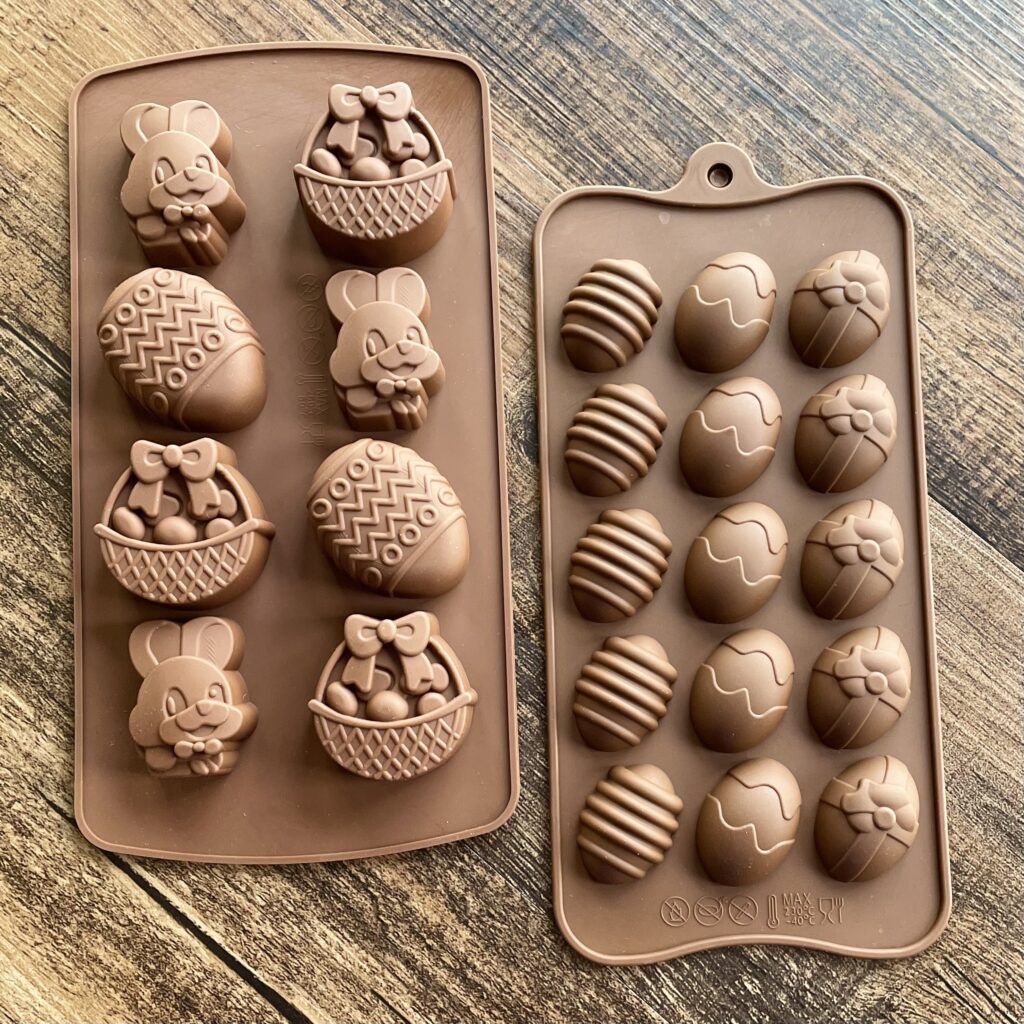
If using silicone molds, wash with warm soapy water and let thoroughly dry before using. You do not need to grease or spray. If you want some similar to the ones shown, find them HERE. Or for a traditional candy bar shaped silicone mold, check out these 8 cavities one HERE.

First, melt semi-sweet chocolate according to package directions and place a teaspoon amount into bottom of each mold.

Use a silicone brush to spread chocolate on bottom and up the sides, making sure there or no gaps. Set aside for chocolate to set, or place in fridge for about 5 minutes to speed up the process.
Tip: It was a little difficult to tell if chocolate was fully covering these brown silicone molds, so it would be best to choose a brighter color mold when using for chocolate. (I had a few that had filling showing because it was hard for me to tell if chocolate had covered sides. Live and learn, right?)
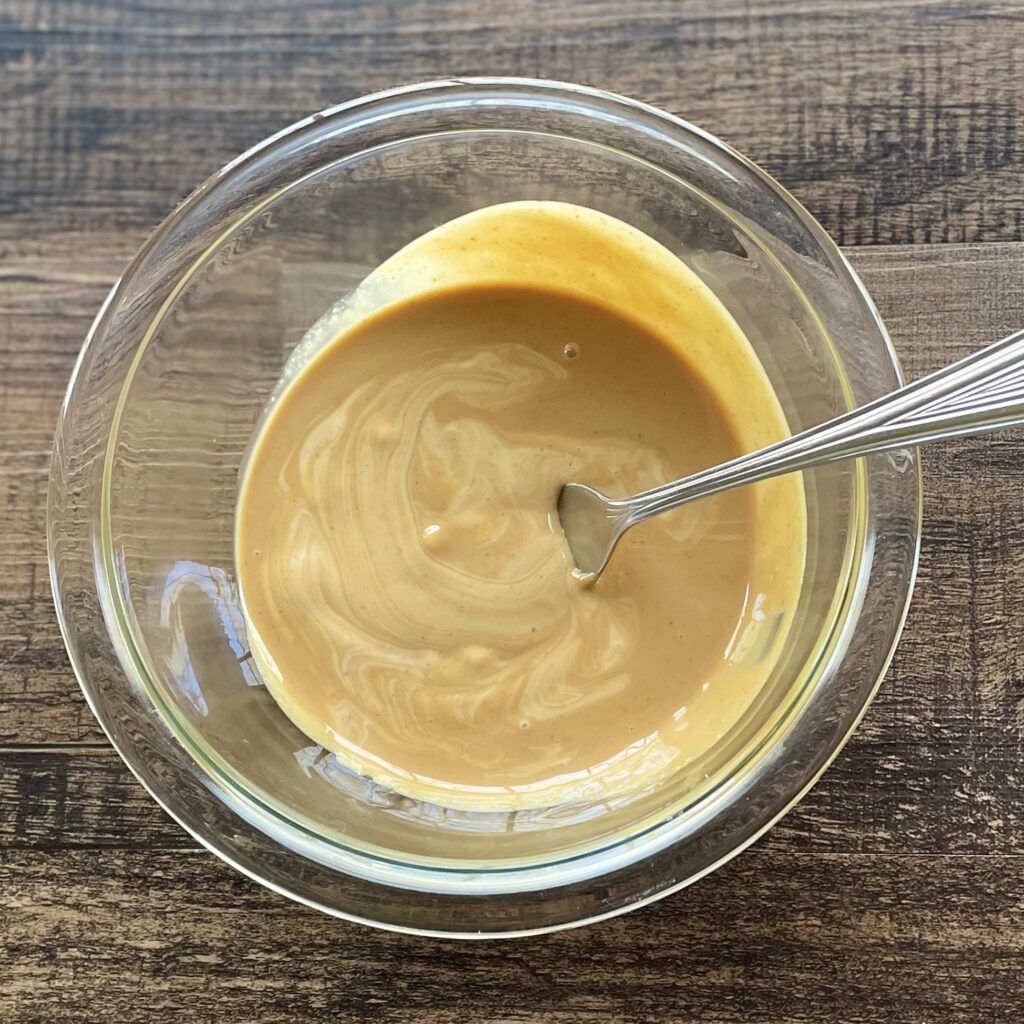
Add white chocolate and peanut butter to a microwave safe bowl and microwave on high for 50 seconds and stir with a spoon until smooth and well blended. Let cool for at least 5 minutes.
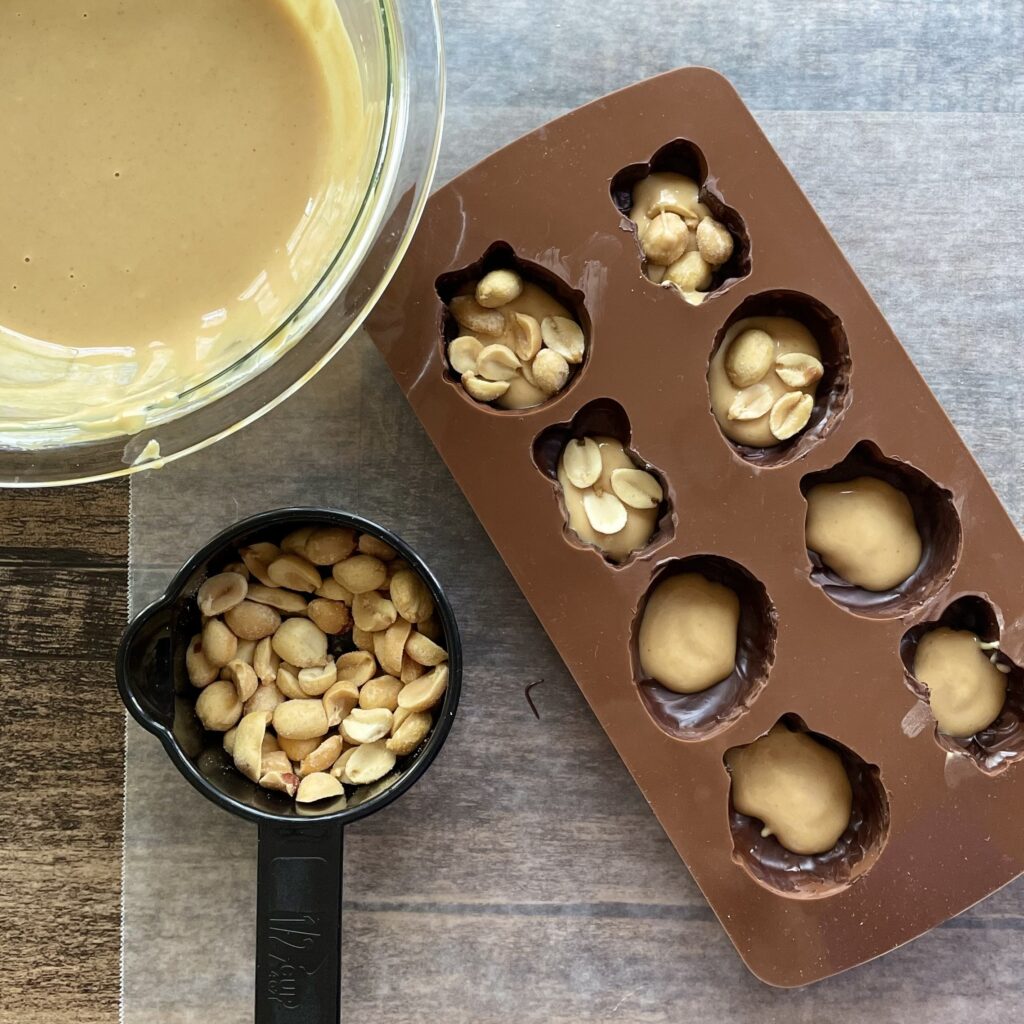
Next, add a small amount of melted peanut butter and while chocolate mixture to each mold.Then add a few peanuts to each mold.
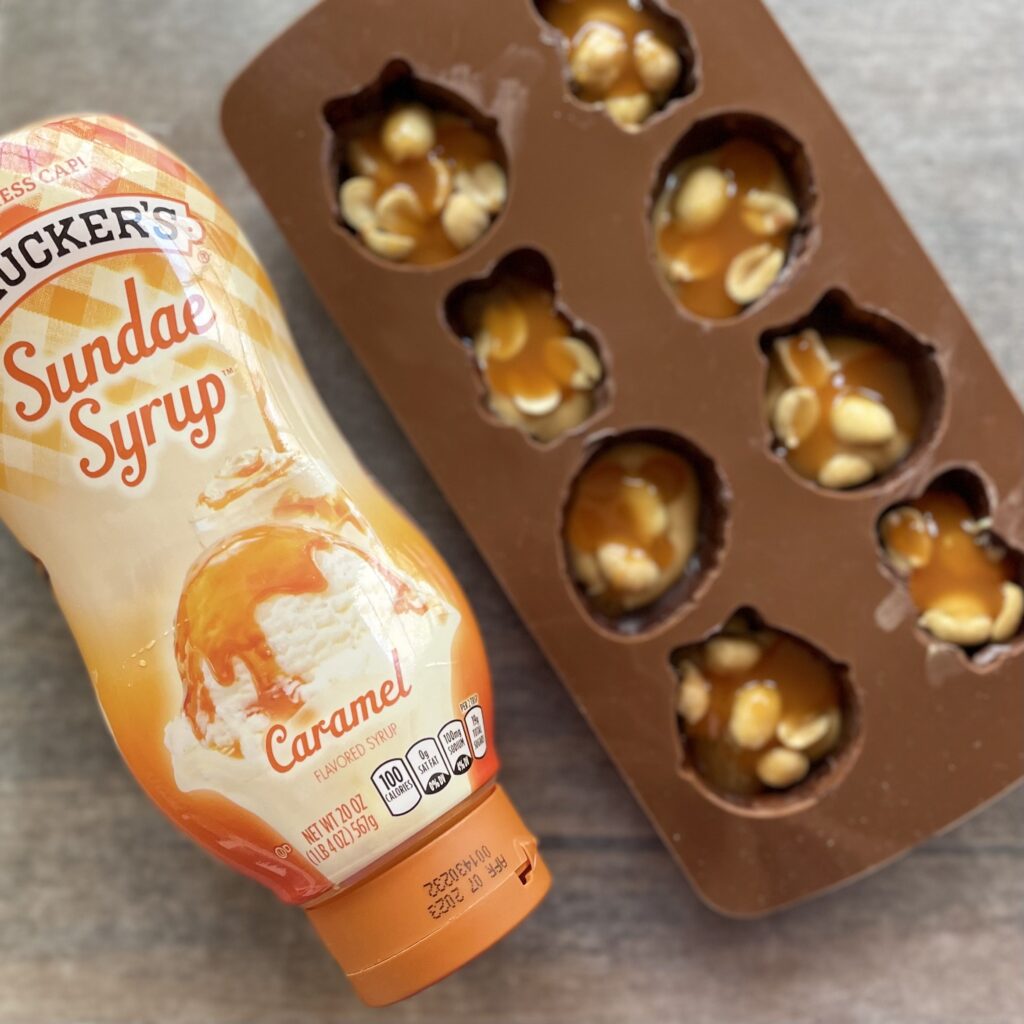
Add just a dab of caramel sundae syrup to each mold. (I probably added a little too much.) I would say about 1/2 tsp or less, depending on the size of your molds.)
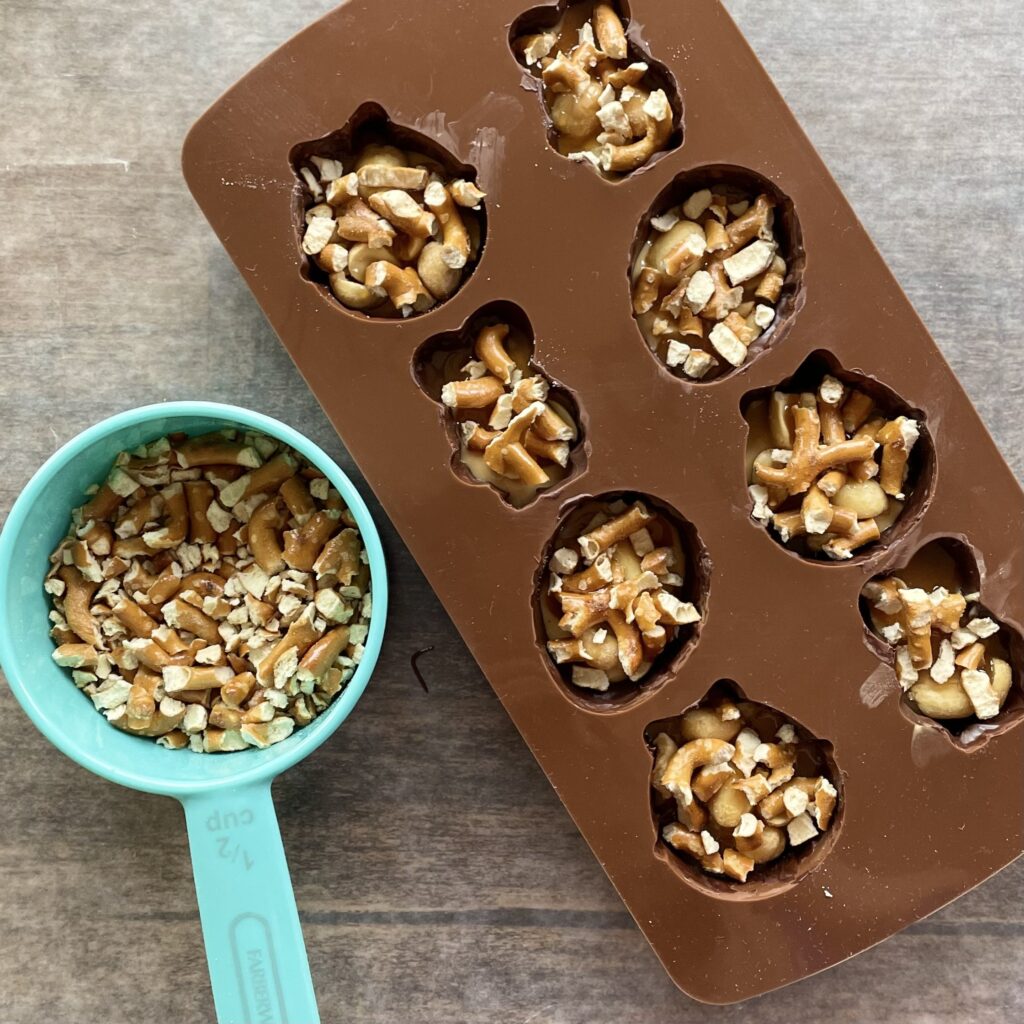
Now you can cover the top with the crushed pretzels. This is my favorite layer for the added texture.
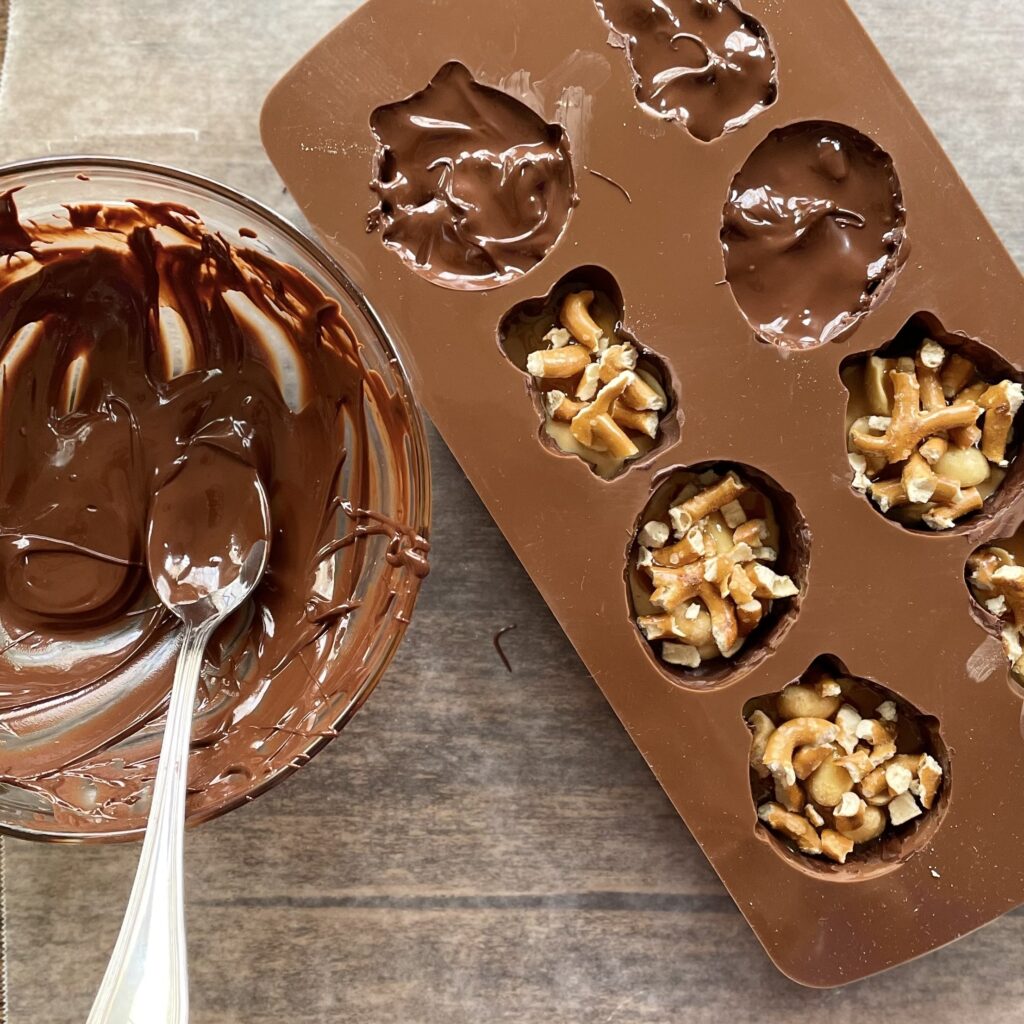
Refresh and melt chocolate if needed, at 15 second intervals, then spoon on top of pretzels until they are covered. Make sure to spread to sides. Let chocolates set for at least 30-40 minutes before unmolding. I recommend to place in fridge for about 5 minutes also and push chocolates up from the bottom of mold.
Store chocolates in an airtight container in a cool, dark area of the kitchen, away from the sunlight. You can also refrigerate, but that could cause blooming, which is not harmful but can lessen the beauty of the chocolates.
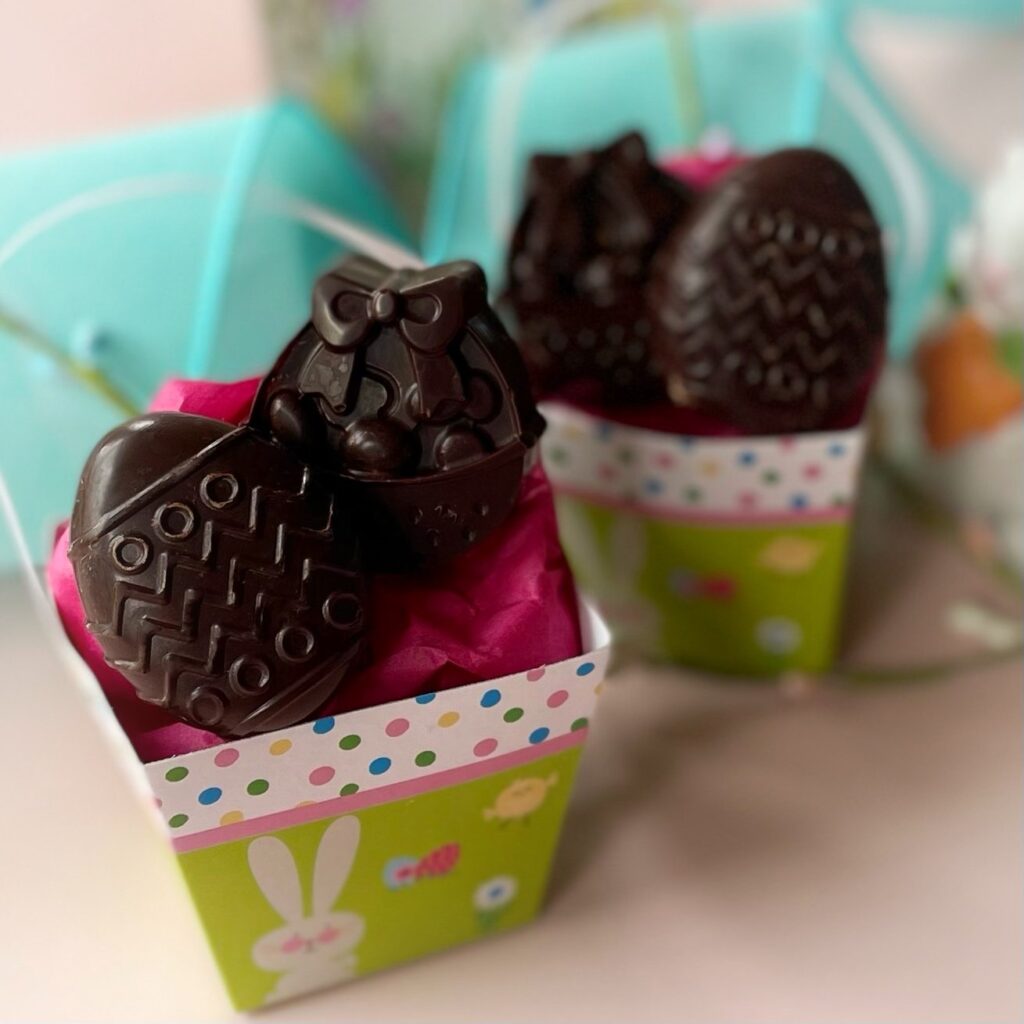
For gifting, add to a decorative baggie or box or display on the Easter table in a small basket with tissue or waxed paper.
Enjoy!
💜Julie
DIY Easter Chocolates (Take 5 copycat recipe)
Ingredients
- 1/2 cup semi-sweet chocolate chips Optional: You may substitute semi-sweet chocolate for milk chocolate chips, if desired.
- 1/2 cup white chocolate chips
- 1/2 cup creamy peanut butter
- 1/4 cup peanuts
- 1 tbsp caramel sundae syrup
- 1/4 cup crushed pretzels
Disclaimer:
Nutritional Information is provided as a courtesy only and should be viewed as an estimate. Ingredients can vary with brands and size and Inspiration Apron makes no guarantees to the accuracy of this information.
Instructions
- If using silicone molds, wash with warm soapy water and let thoroughly dry before using. You do not need to grease or spray.
- First, melt semi-sweet chocolate according to package directions and place a teaspoon amount into bottom of each mold.
- Use a silicone brush to spread chocolate on bottom and up the sides, making sure there or no gaps. Set aside for chocolate to set, or place in fridge for about 5 minutes to speed up the process.
- Add white chocolate and peanut butter to a microwave safe bowl and microwave on high for 50 seconds and stir with a spoon until smooth and well blended. Let cool for at least 5 minutes.
- Next, add a small amount of melted peanut butter and while chocolate mixture to each mold. Then add a few peanuts to each mold.
- Add just a dab of caramel sundae syrup to each mold. I would suggest about 1/2 tsp or less, depending on the size of your molds.)
- Now you can cover the top with the crushed pretzels. This is my favorite layer for the added texture.
- Refresh and melt chocolate if needed, at 15 second intervals, then spoon on top of pretzels until they are covered. Make sure to spread to sides.
- Let chocolates set for at least 30-40 minutes before unmolding. I recommend to place in fridge for about 5 minutes also and push chocolates up from the bottom of mold.
- Store chocolates in an airtight container in a cool, dark area of the kitchen, away from the sunlight. You can also refrigerate, but that could cause blooming, which is not harmful but can lessen the beauty of the chocolates.