Key Lime Icebox Tart
Inspiration Apron is reader supported and I may earn a small affiliate commission on any links clicked and a purchase made. Thank you for supporting the brands that keep Inspiration Apron running!
Talk about the ultimate summertime treat. This dairy-free key lime icebox tart will transport you straight to paradise at the first bite. A luscious, smooth no bake filling that has all the flavors of a tropical vacation with lime and coconut, perfectly balanced out with a salty/sweet graham cracker and milled flax seed crust. Only the crust is baked for 10 minutes.
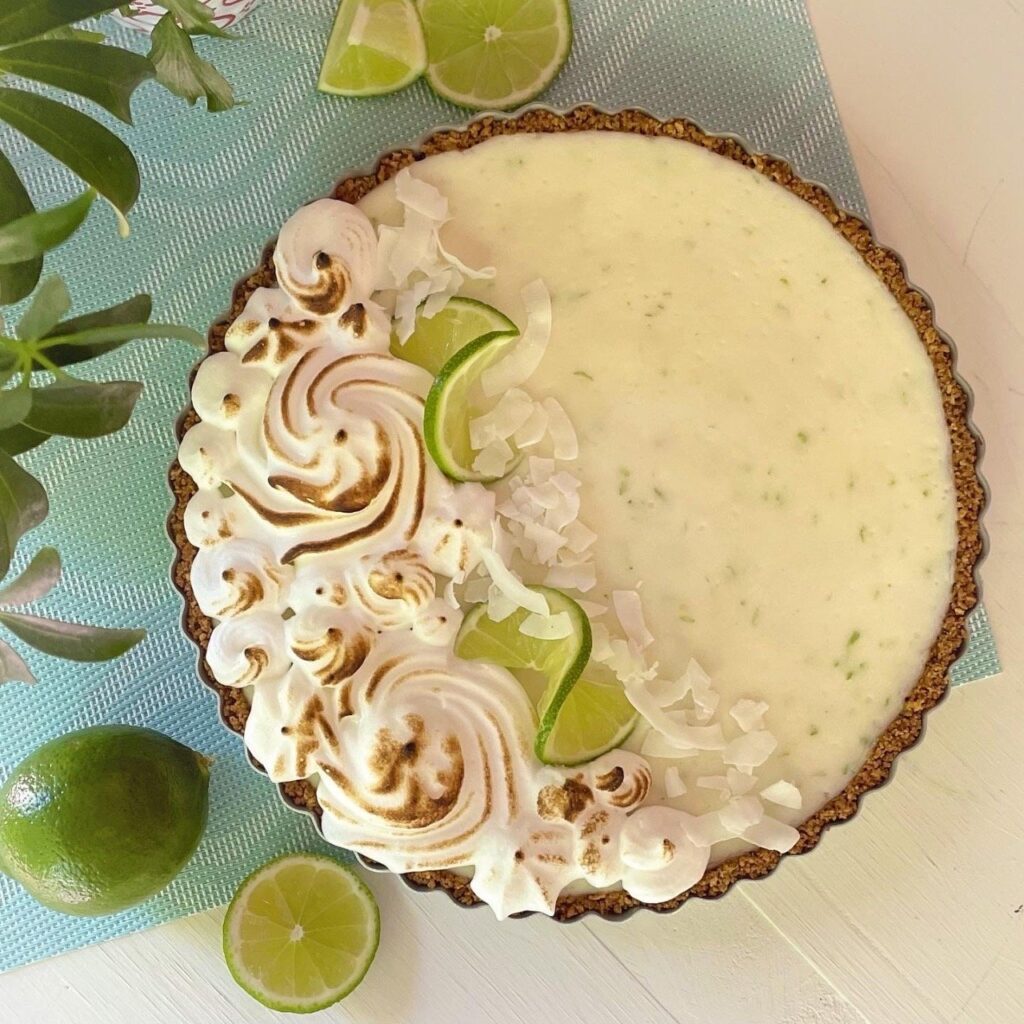
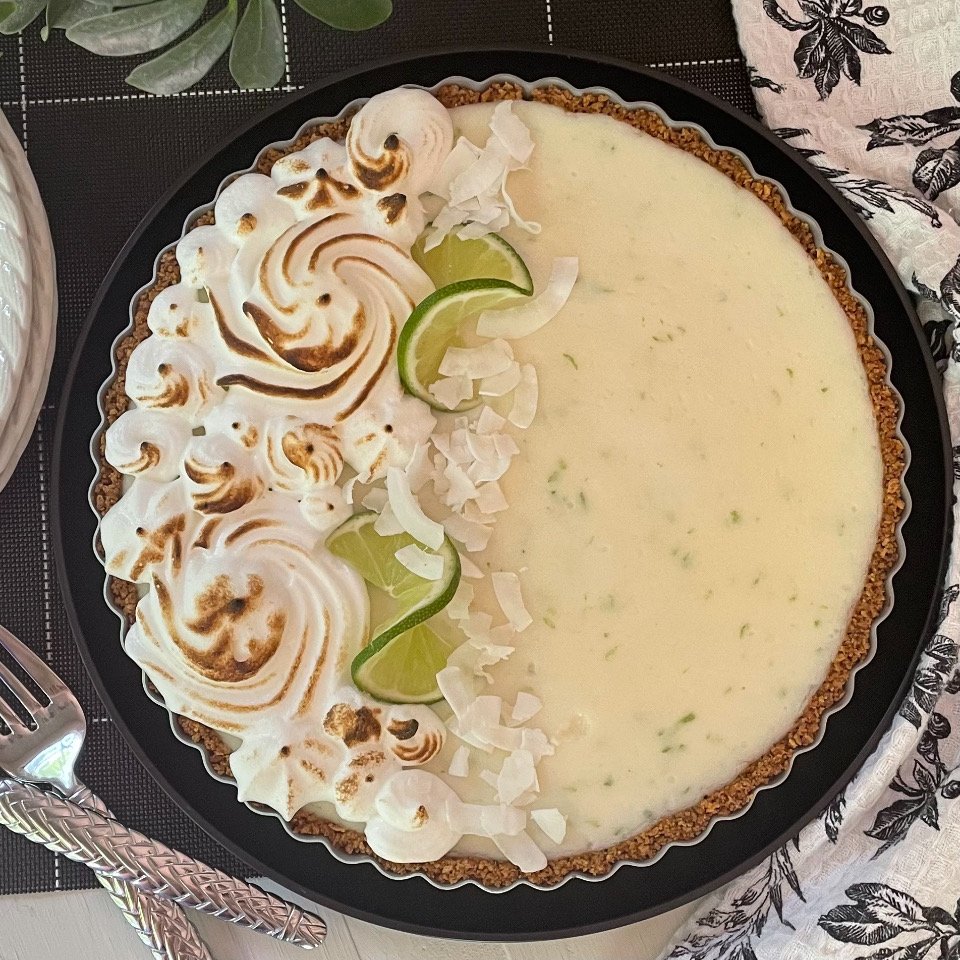
This Key Lime Icebox Tart has a graham cracker crust and an optional toasted meringue topping.
The filling is no-bake and easily mixed together and poured into crust, then frozen for an effortless yet impressive dessert. (For an even easier option, you can use a store-bought graham cracker crust) You can also add the optional dairy-free meringue topping for a light and fluffy addition to the texture, reminiscent of whipped topping or choose to omit for a vegan dessert. This recipe is for a 9-inch tart that will yield eight large slices. You can easily make mini tarts for a bite size party dessert option.
Let’s begin!
Ingredients to make key lime tart
Ingredients:
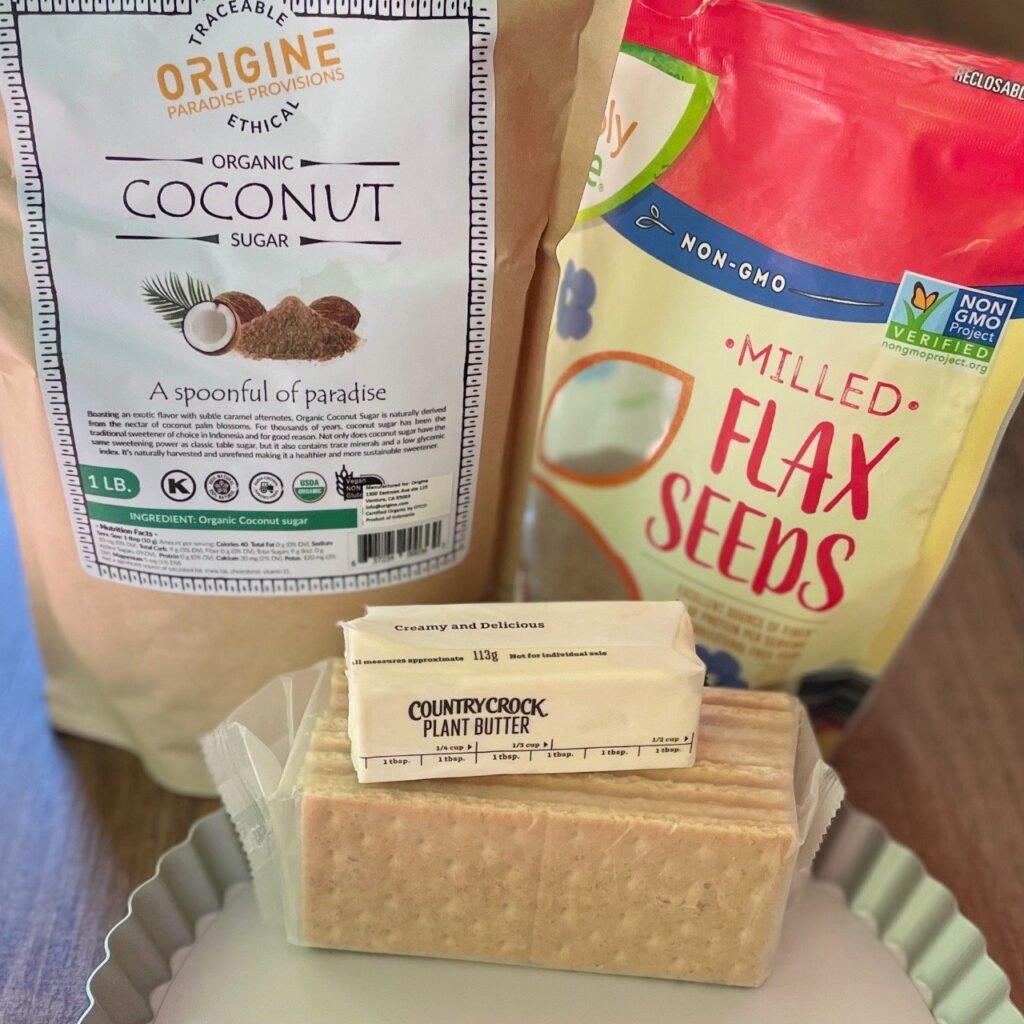
Graham cracker crust ingredients:
- 8 full graham crackers or 1 cup graham cracker crumbs
- 2 tbsp milled flax seeds
- 2 tbsp Origine Organic Coconut Sugar (or substitute with granulated sugar)
- 6 tbsp plant butter, melted
- 1/8 tsp salt
- 9-inch tart pan
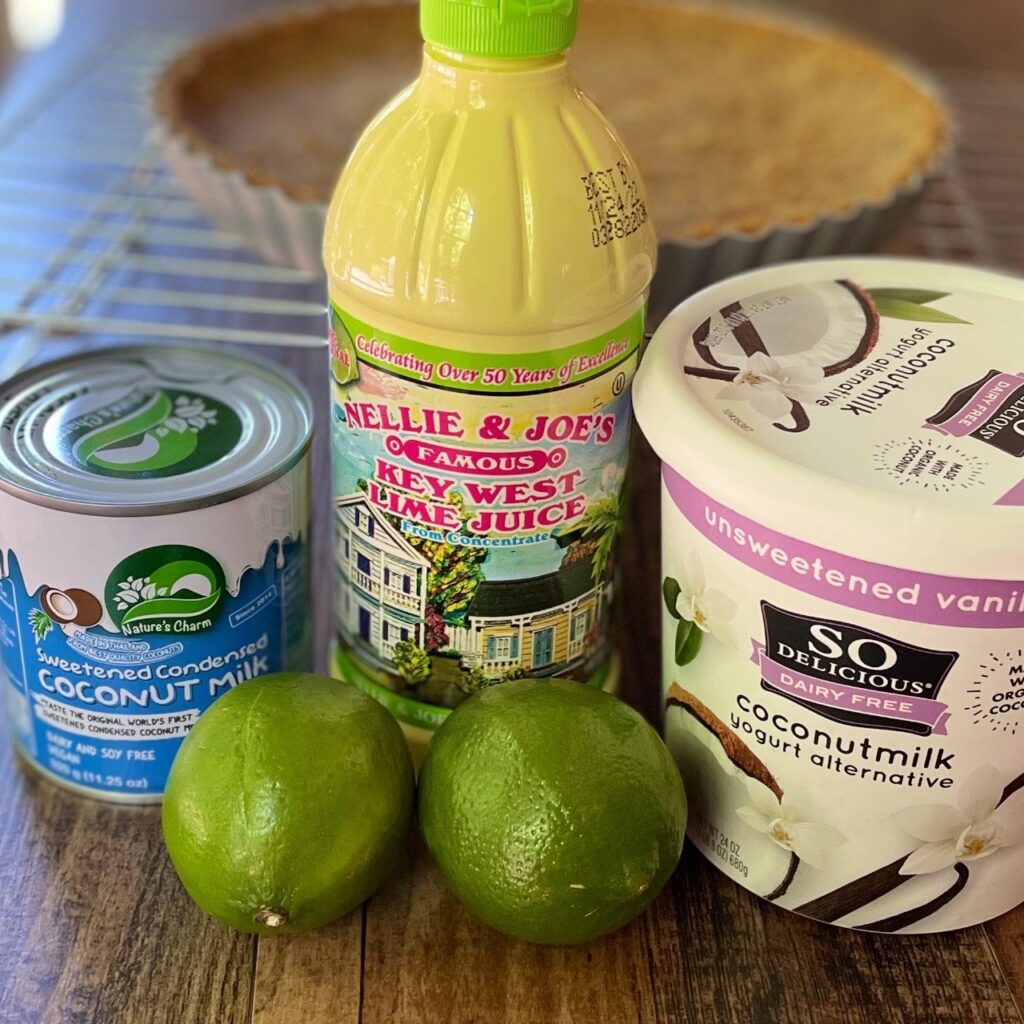
Key Lime Tart filling ingredients:
- 1 cup (8oz) sweetened condensed coconut milk
- 1/2 cup unsweetened vanilla coconut yogurt alternative
- 1/3 cup key lime juice
- Zest from two regular limes or four key limes. (I prefer regular limes for an extra green pop of color)

Optional Meringue Garnish:
- 4 large egg whites
- 1/4 tsp cream of tartar
- 1/4 cup confectioner’s sugar
- Jo Chef culinary torch (for toasting meringue topping)
Other optional garnishes: Lime slices and toasted or untoasted coconut shreds.
How to make key lime icebox tart
Instructions:
Preheat oven to 350℉ / 176℃.
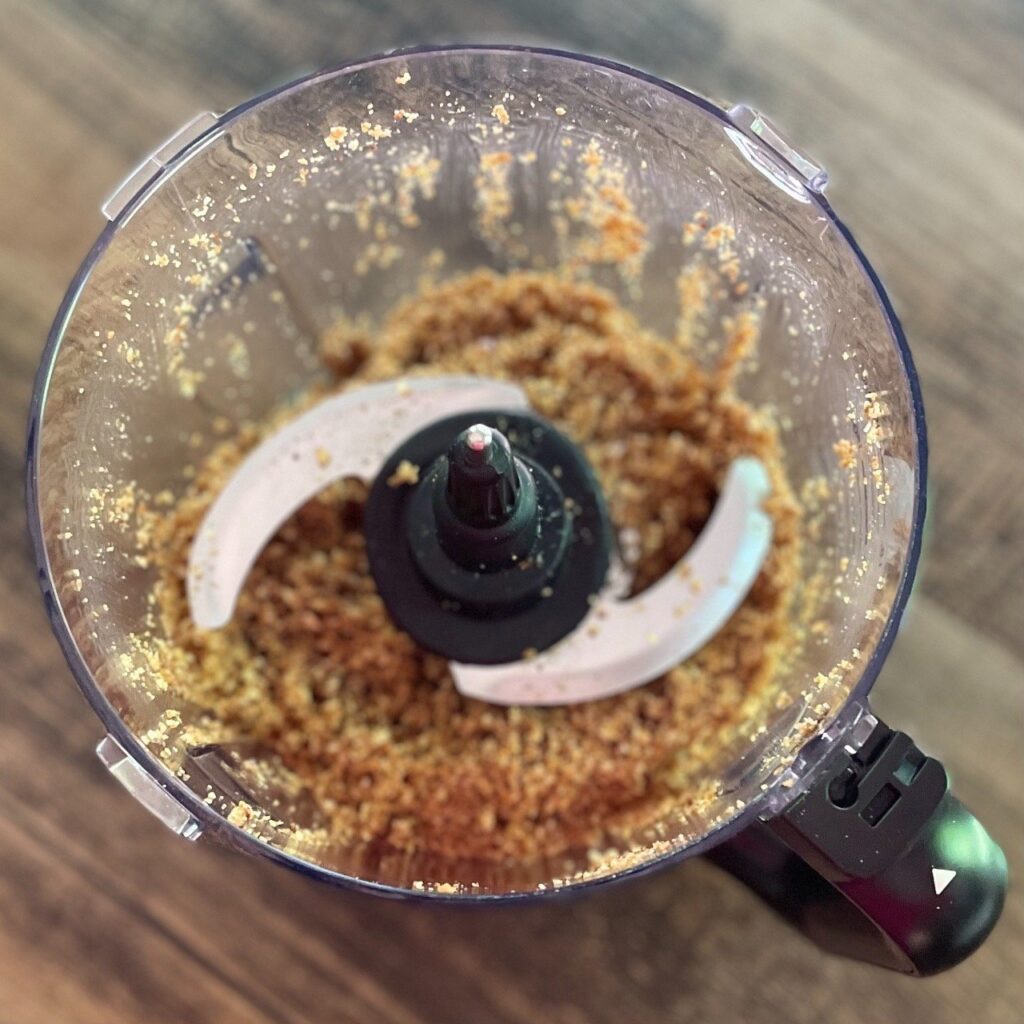
Add all crust ingredients to a food processor or blender and pulse until thoroughly incorporated and moist, small crumbs are made. Note: If you do not have a food processor, you can crush the graham crackers in a plastic baggie with a rolling pin until fine crumbs and add all ingredients to a bowl and stir together with a fork until evenly mixed.
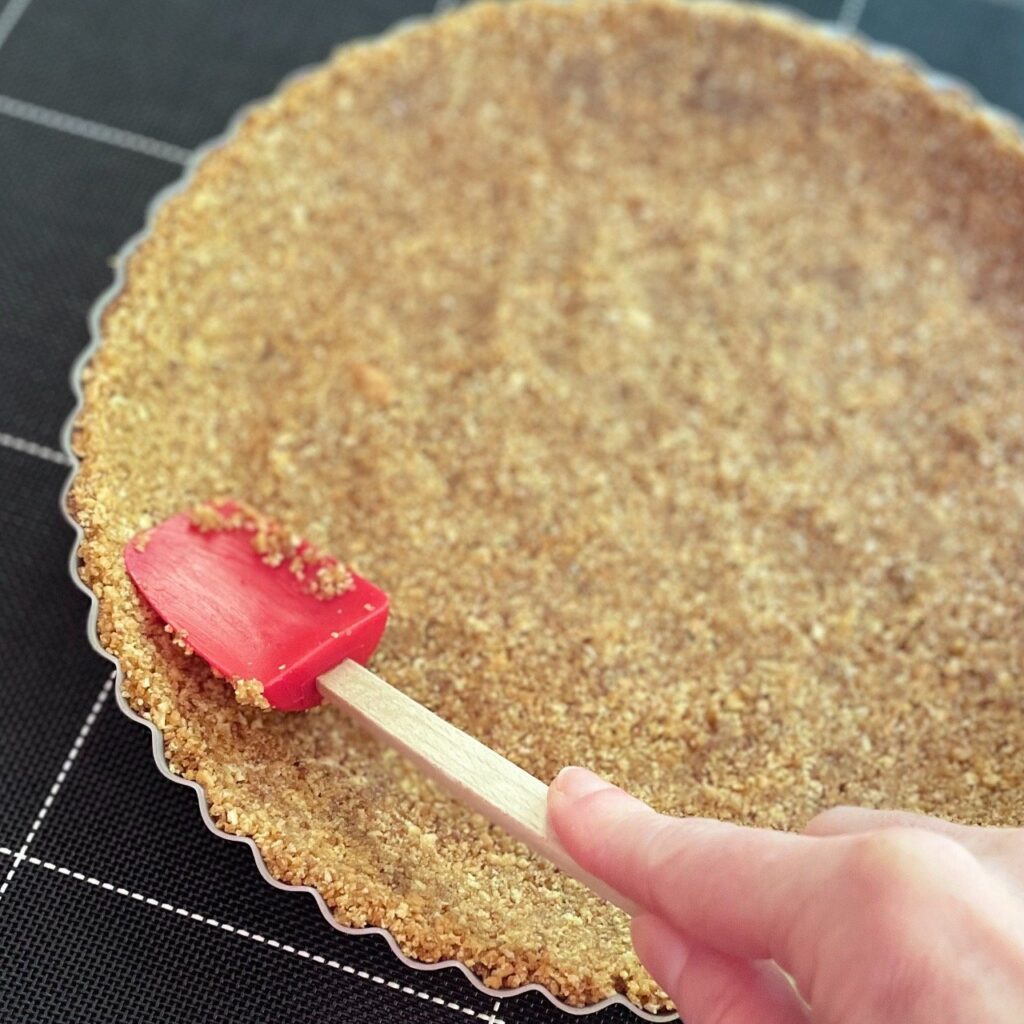
Transfer crust mixture into the tart pan and press mixture into sides and bottom using a silicone or rubber spatula.
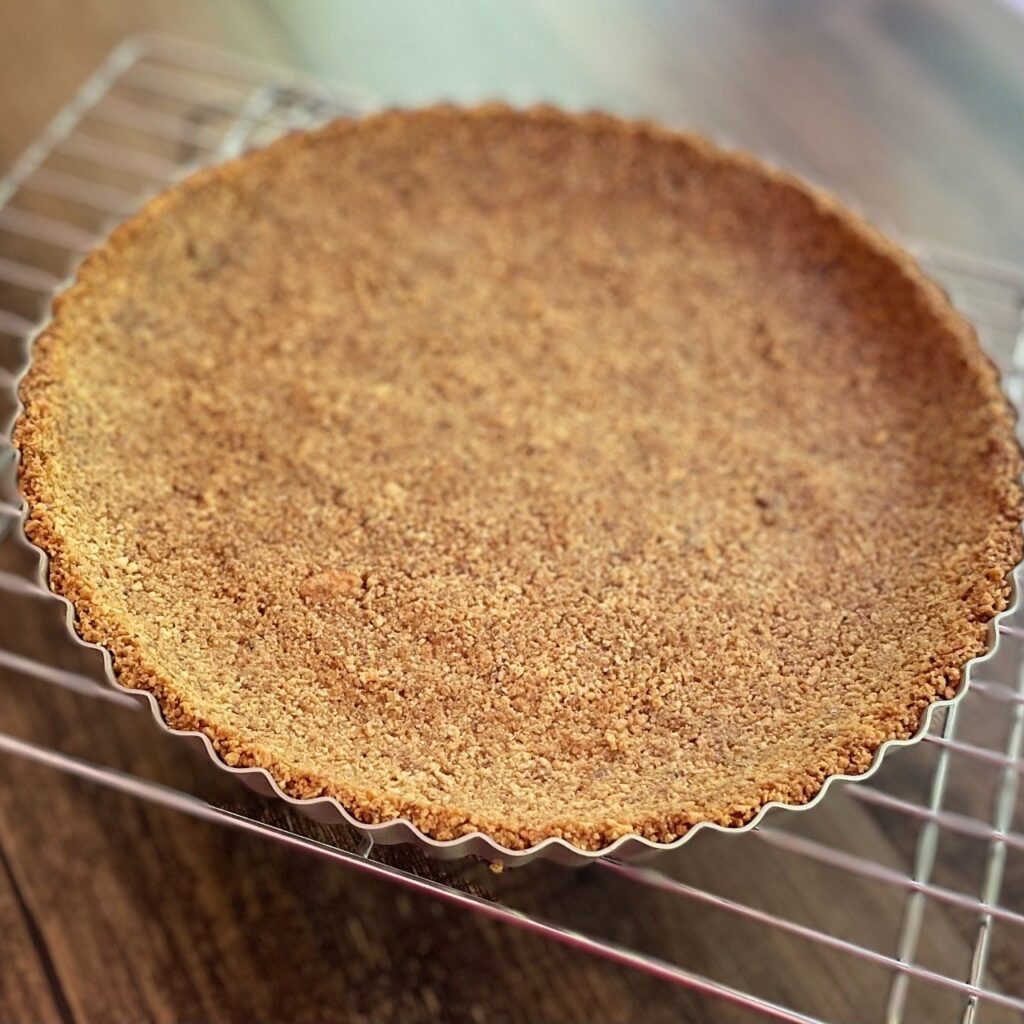
Bake crust in center of oven for 10-12 minutes, until slightly darker brown, then cool completely on rack before filling.
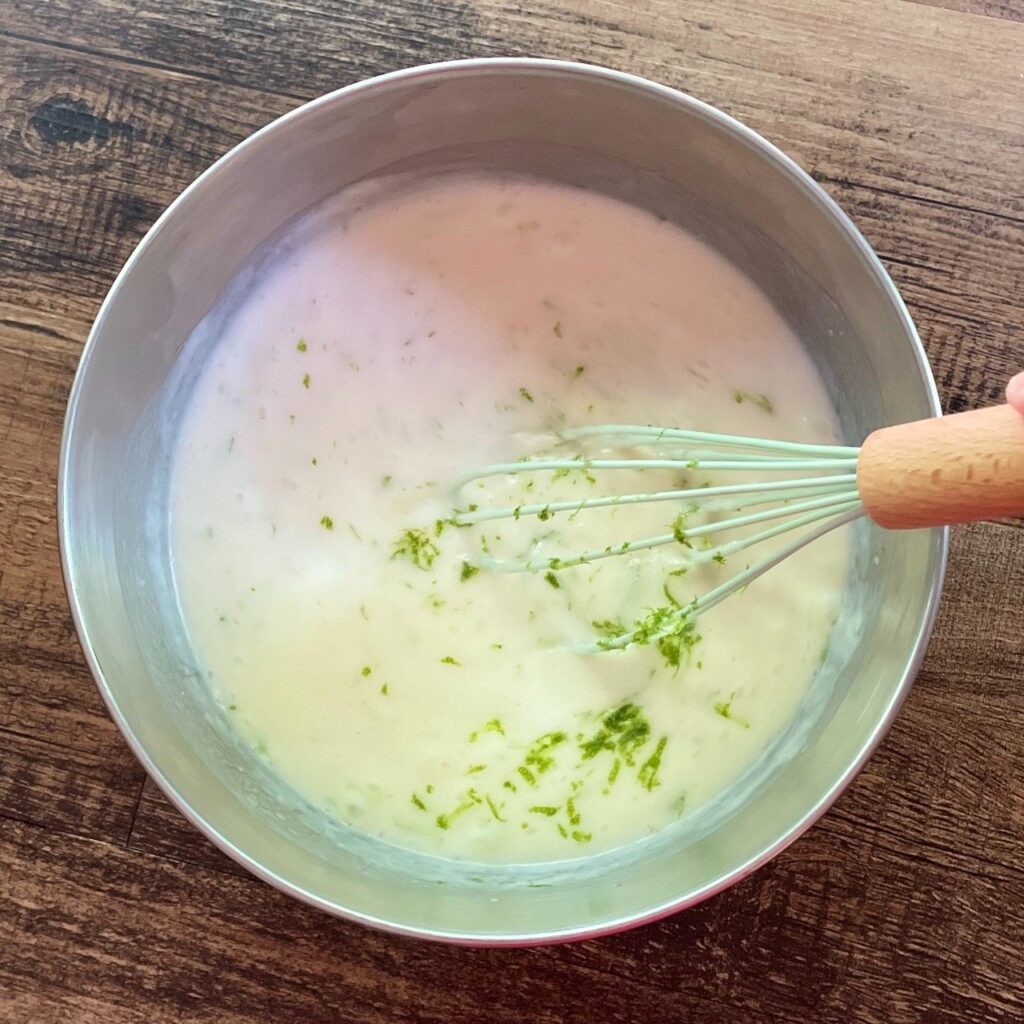
Add all filling ingredients to a large bowl and whisk or mix on medium until slightly more thickened, about 50-60 seconds.
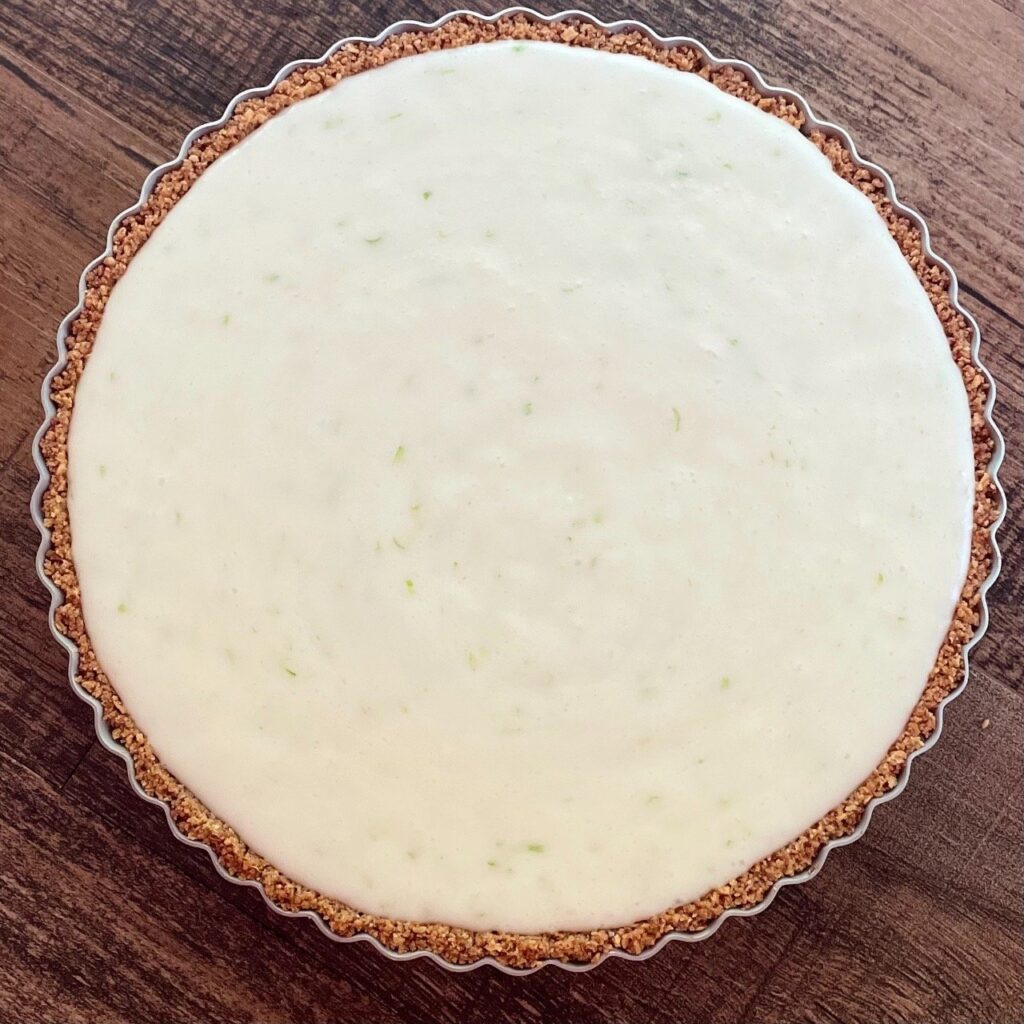
Pour filling into crust and chill in freezer for at least 4 hours or overnight before serving or adding additional garnishes or meringue topping.
How long can a frozen dairy-free key lime pie be stored?
You can make ahead and store for up to 6 weeks in freezer before serving. I would suggest waiting to add garnishes or meringue until the day you are ready to serve, (although in testing, my meringue held up rather well under the plastic wrap, but with egg whites being used as an ingredient, it will cut its freezer life down to 2 weeks, so keep that in mind.)
Does French meringue topping need to be cooked before consuming?
Before beginning the meringue, keep in mind, you will need a culinary torch to cook/brown the topping before it is safe for consumption. It is recommended to cook to 160℉, which does not take long, about one minute or less of browning for a small, shallow design, possibly a little longer for a thicker design meringue. (I piped mine about 1/2-inch to 1-inch tall in most places.I highly recommend using Jo Chef’s Kitchen Torch. As a person that is frightful of fire, I found this tool very safe and easy to use at a great price. You can order one HERE that comes with extra butane. Please read all instructions carefully before using.
Discloser: Inspirationapron.com is reader supported and any purchase through affiliate links may earn Inspiration Apron, LLC an affiliate commission. Any support is greatly appreciated!
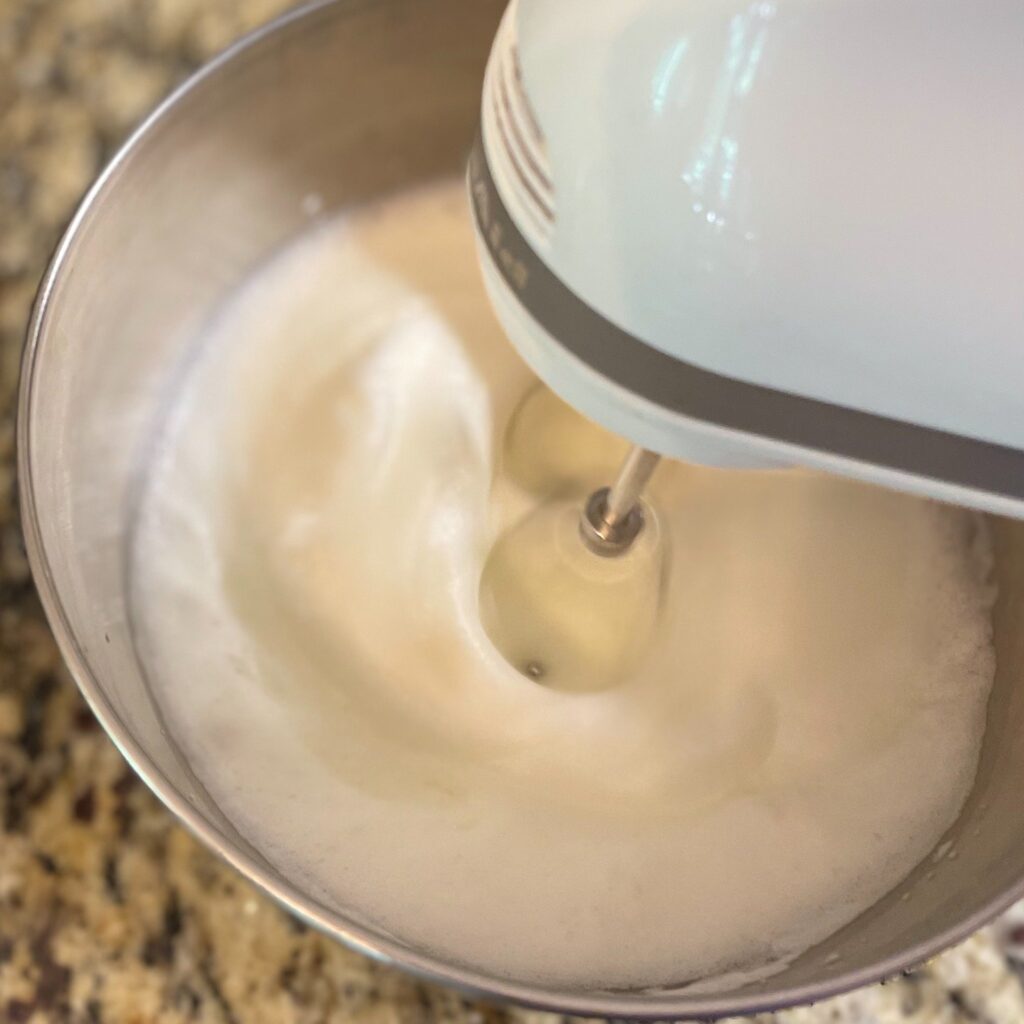
To make the optional meringue topping, start with a spotlessly clean stainless-steel bowl for best results. (I wipe mine down with a little bit of white vinegar on a paper towel and let dry completely.)Add egg whites to a clean and dry medium bowl and use mixer to whip eggs until smooth and glossy.
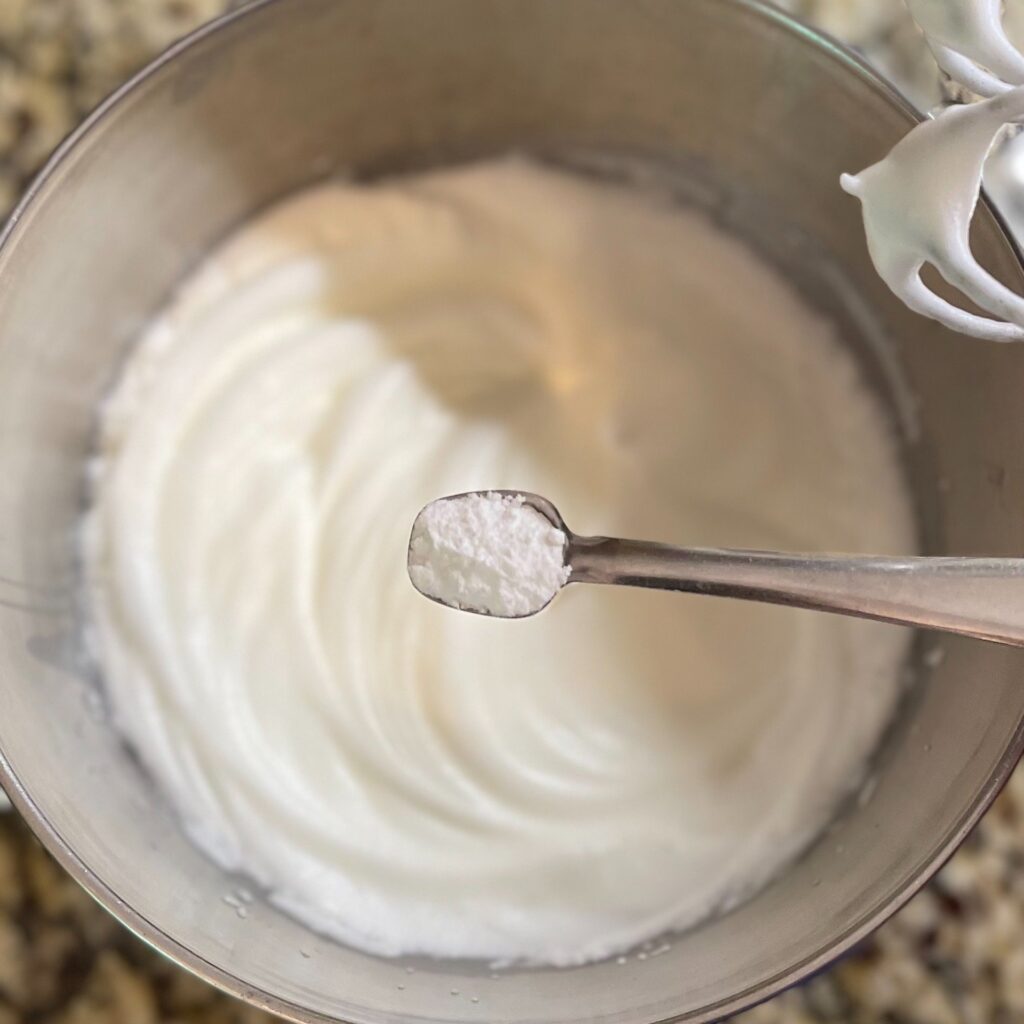
Next, add the cream of tartar and mix well. (This will help the egg whites keep their form.)
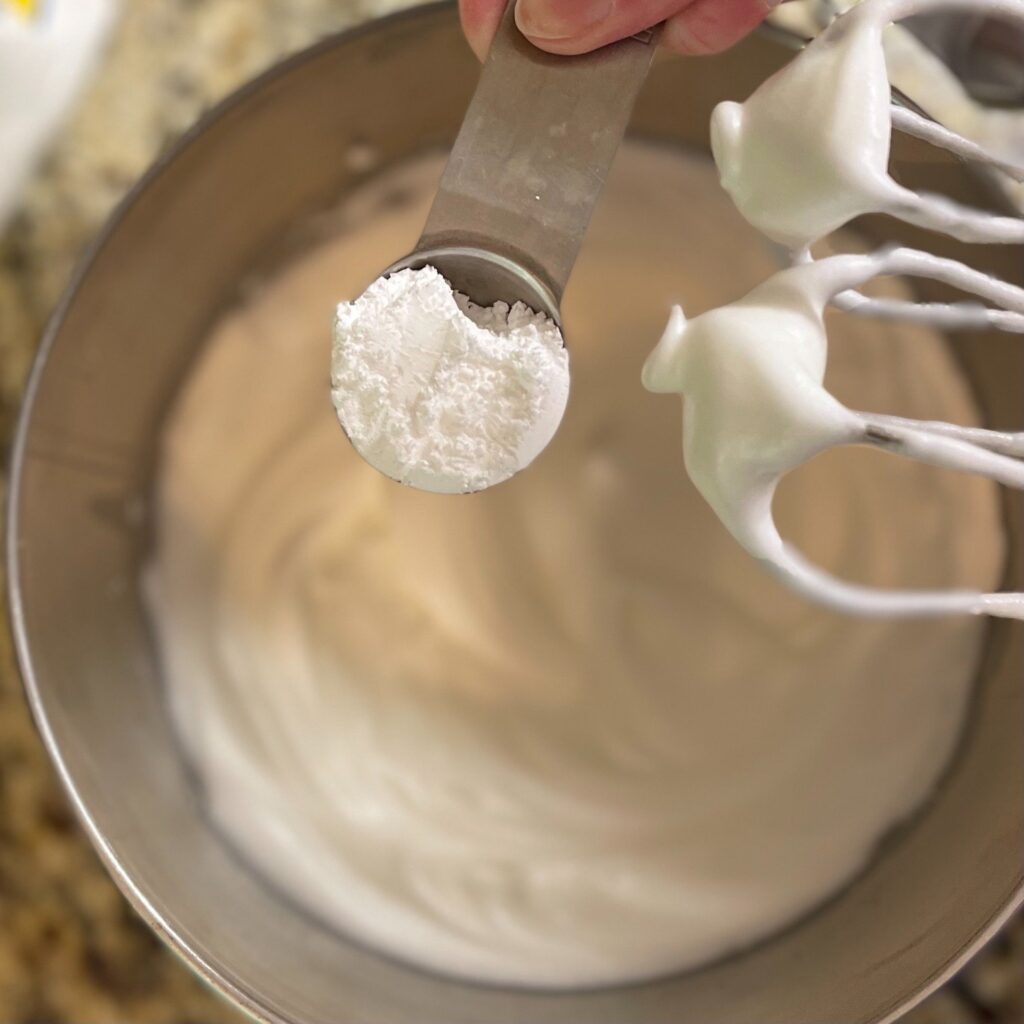
Slowly start incorporating confectioners’ sugar, about one tablespoon at a time, beating on low after each addition until all of sugar is incorporated, then continue beating on low, gradually increasing speed to medium until stiff peaks form.
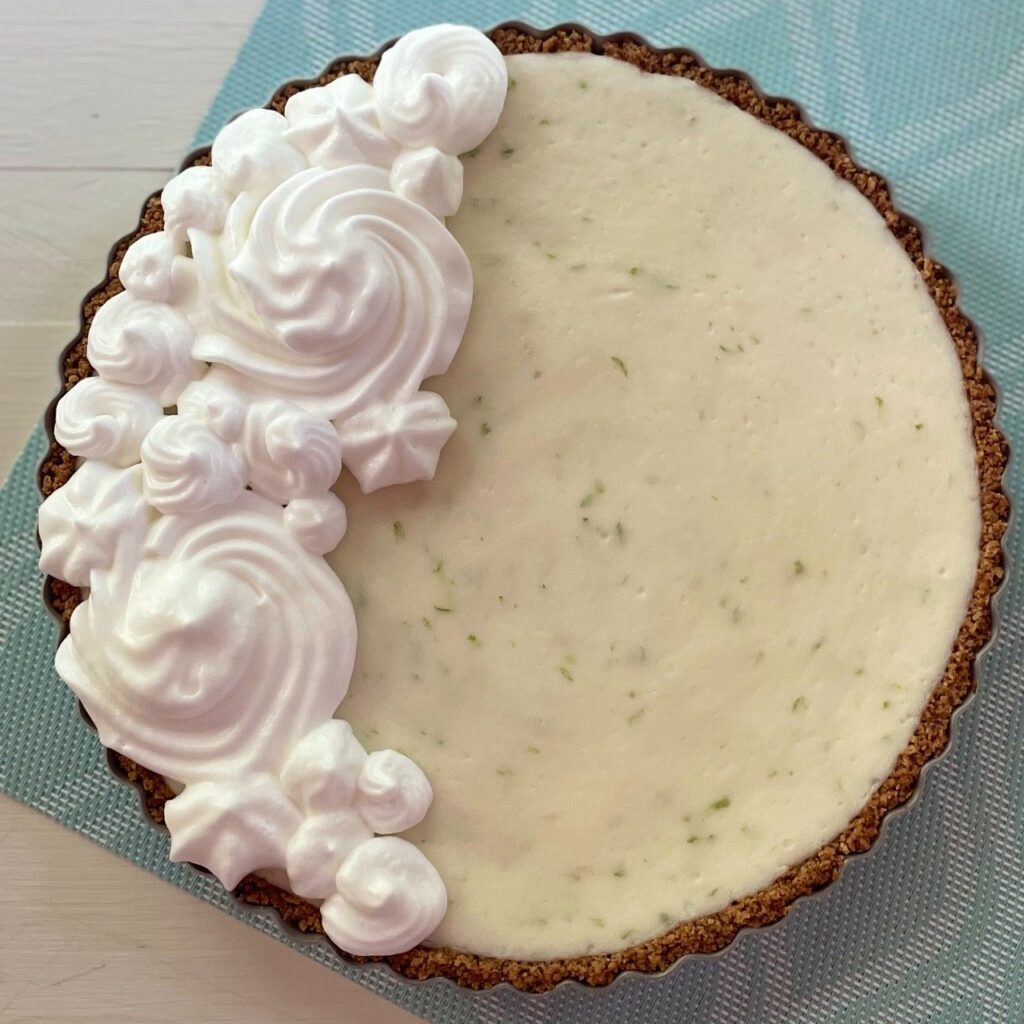
I used various piping tips to create a design on one side of the tart with the meringue, but you could simply dollop on around the edges using a spoon or fill a plastic baggie up and snip the corner off to pipe on a design. Place tart on a fireproof surface such as a large baking sheet or a cooling rack sitting above a baking sheet.
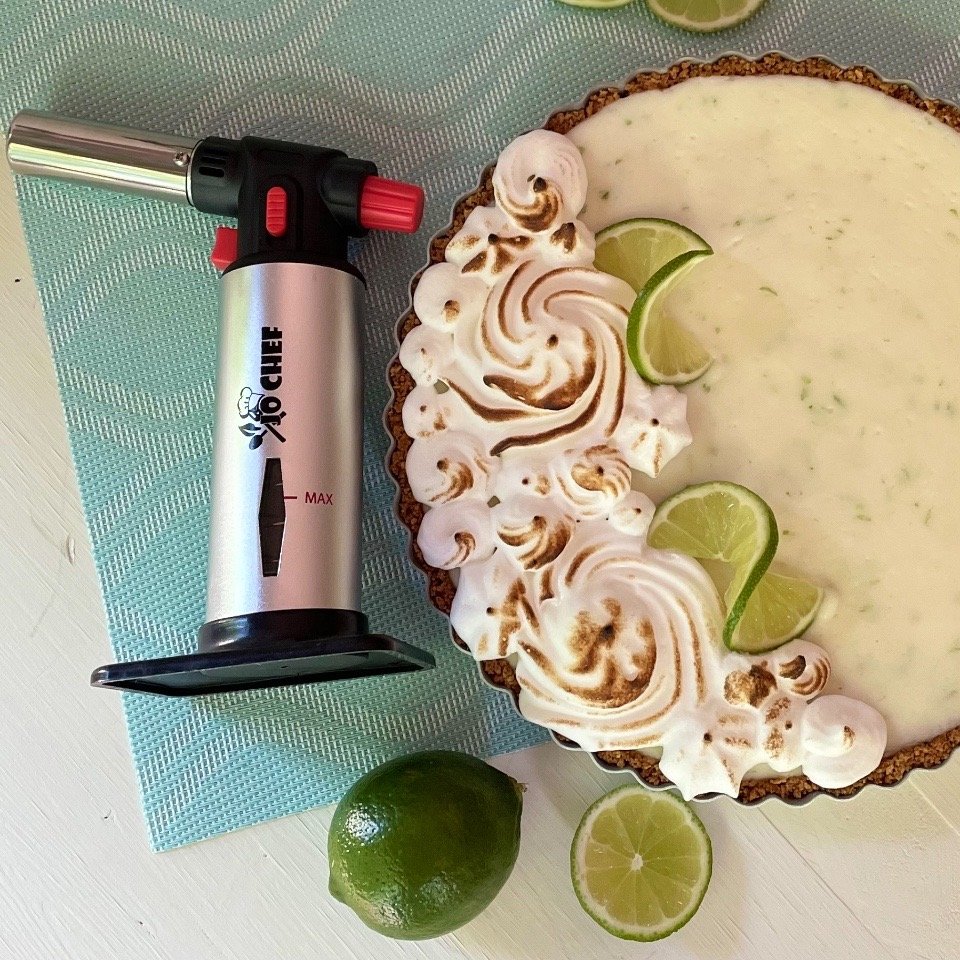
Use the kitchen torch on medium to cook and brown meringue topping, using a circular motion. Do not stay in one area too long or it will burn or flame up. French meringue doesn’t take very long to cook through but is recommended to heat to at least 160 ℉ for safe consumption.
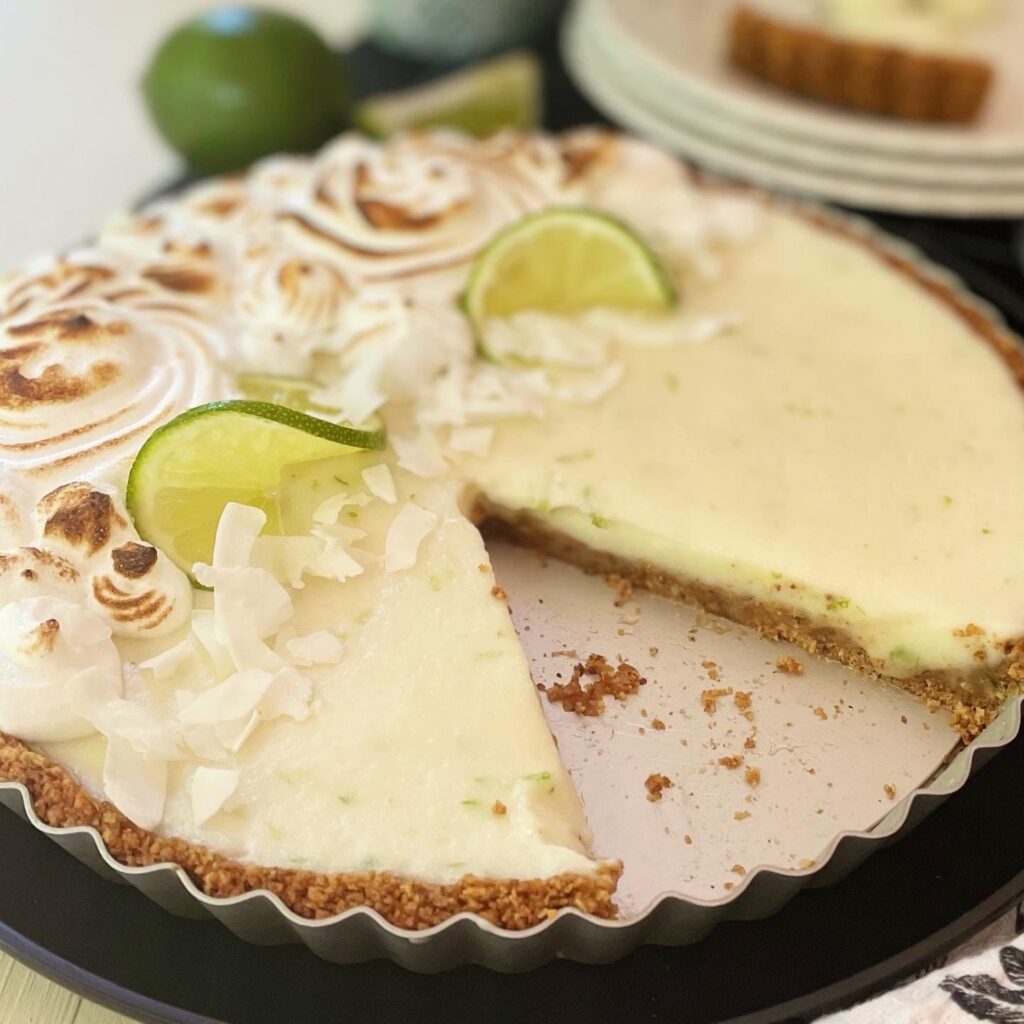
Add extra garnishes of shredded coconut and lime slices, if desired. Serve immediately or freeze, (covered) until ready to serve. You can slice this tart right out of the freezer. It’s very smooth and delicious, like a taste of paradise.
Enjoy!
💜Julie
Key Lime Icebox Tart (dairy free)
Ingredients
- 8 full graham crackers or 1 cup graham cracker crumbs
- 2 tbsp milled flax seeds if you want to omit the flax seeds, add 1 more graham cracker
- 2 tbsp Origine Organic Coconut Sugar or granulated sugar
- 6 tbsp plant butter melted
- 1/8 tsp salt
- 1 cup 8oz sweetened condensed coconut milk
- 1/2 cup unsweetened vanilla coconut yogurt alternative
- 1/3 cup key lime juice
- Zest from two regular limes or four key limes. I prefer regular limes for an extra green pop of color
- 4 large egg whites
- 1/4 tsp cream of tartar
- 1/4 cup confectioner’s sugar
- Jo Chef culinary torch for toasting meringue topping
- Other optional garnishes: Lime slices and toasted or untoasted coconut shreds.
Disclaimer:
Nutritional Information is provided as a courtesy only and should be viewed as an estimate. Ingredients can vary with brands and size and Inspiration Apron makes no guarantees to the accuracy of this information.
Instructions
- Preheat oven to 350℉ / 176℃.
- Add all crust ingredients to a food processor or blender and pulse until thoroughly incorporated and moist, small crumbs are made.
- Transfer crust mixture into the tart pan and press mixture into sides and bottom using a silicone or rubber spatula.
- Bake crust in center of oven for 10-12 minutes, until slightly darker brown, then cool completely on rack before filling.
- Add all filling ingredients to a large bowl and whisk or mix on medium until slightly more thickened, about 50-60 seconds.
- Pour filling into crust and chill in freezer for at least 4 hours or overnight before serving or adding additional garnishes or meringue topping.
- To make the optional meringue topping, start with a spotlessly clean stainless-steel bowl for best results. (I wipe mine down with a little bit of white vinegar on a paper towel and let dry completely.)
- Add egg whites to a clean and dry medium bowl and use mixer to whip eggs until smooth and glossy.
- Next, add the cream of tartar and mix well. (This will help the egg whites keep their form.)
- Slowly start incorporating confectioners’ sugar, about one tablespoon at a time, beating on low after each addition until all of sugar is incorporated, then continue beating on low, gradually increasing speed to medium until stiff peaks form.
- I used various piping tips to create a design on one side of the tart with the meringue, but you could simply dollop on around the edges using a spoon or fill a plastic baggie up and snip the corner off the pipe on a design.
- Place tart on a fireproof surface such as a large baking sheet or a cooling rack sitting above a baking sheet.
- Use the kitchen torch on medium to cook and brown meringue topping, using a circular motion. Do not stay in one area too long or it will burn or flame up. French meringue doesn’t take very long to cook through but is recommended to heat to at least 160 ℉ for safe consumption.
- Add extra garnishes of shredded coconut and lime slices, if desired. Serve immediately or freeze, (covered) until ready to serve. Can be smoothly sliced right out of the freezer. Enjoy!

How exactly is this dairy free if it contains a can of condensed milk?
Hi M Watson,
I doubled checked (because I do make mistakes from time to time) but if you read closely I didn’t just put "condensed milk" I put "sweetened condensed coconut milk" in my ingredient list. I even have a photo of the can and brand I used above the filling ingredients. Sweetened condensed coconut milk is is a non-dairy option of conventional sweetened condensed milk. If you need help finding some, I will add a link in the recipe card now where you can purchase on Amazon, but you can typically find it in the baking isle at your local grocery store.
Thanks and enjoy!
That was a very gentle response!!!
It sounds delicious wondering if I could just use Greek yogurt???
Hi Patty!
Thanks for your kind words:) …and I love your question!
I haven’t tried making with Greek yogurt, however, I have used yogurt in some of my frozen treats and I believe if you substitute the sweetened condensed coconut milk with a thick vanilla Greek yogurt and also add a sweetener (such as 1/2 cup granulated sugar) it would freeze and cut beautifully…and you get those added benefits of the probiotics! I’ll have to try soon, thank you for the idea. If you make it, please let me know how it turns out. Have a great day!
Julie
P.S. If you need to make this a dairy-free dessert, Silk makes a thick and delicious vanilla Greek almondmilk yogurt alternative that you can find in most grocery stores.
Correction to my last response: The dairy-free Greek Yogurt from Silk is not almondmilk yogurt, it is made with coconutmilk and called "Silk Greek style made with coconutmilk" (vanilla flavor)