
Easy Peppermint Brownies
(Discloser: This is a sponsored post, and I received free product from Nature’s Flavors; However, all opinions and thoughts are my own. Thank you for supporting the brands that keep Inspiration Apron running!)
There is something so cozy about homemade brownies and with the holidays coming I always start craving peppermint flavors. These Easy Peppermint Brownies come together in minutes (no mixer needed, just a fork!) and you can add the optional glaze drizzle and crushed candy canes for a little festive flare and hint of cool sweetness.

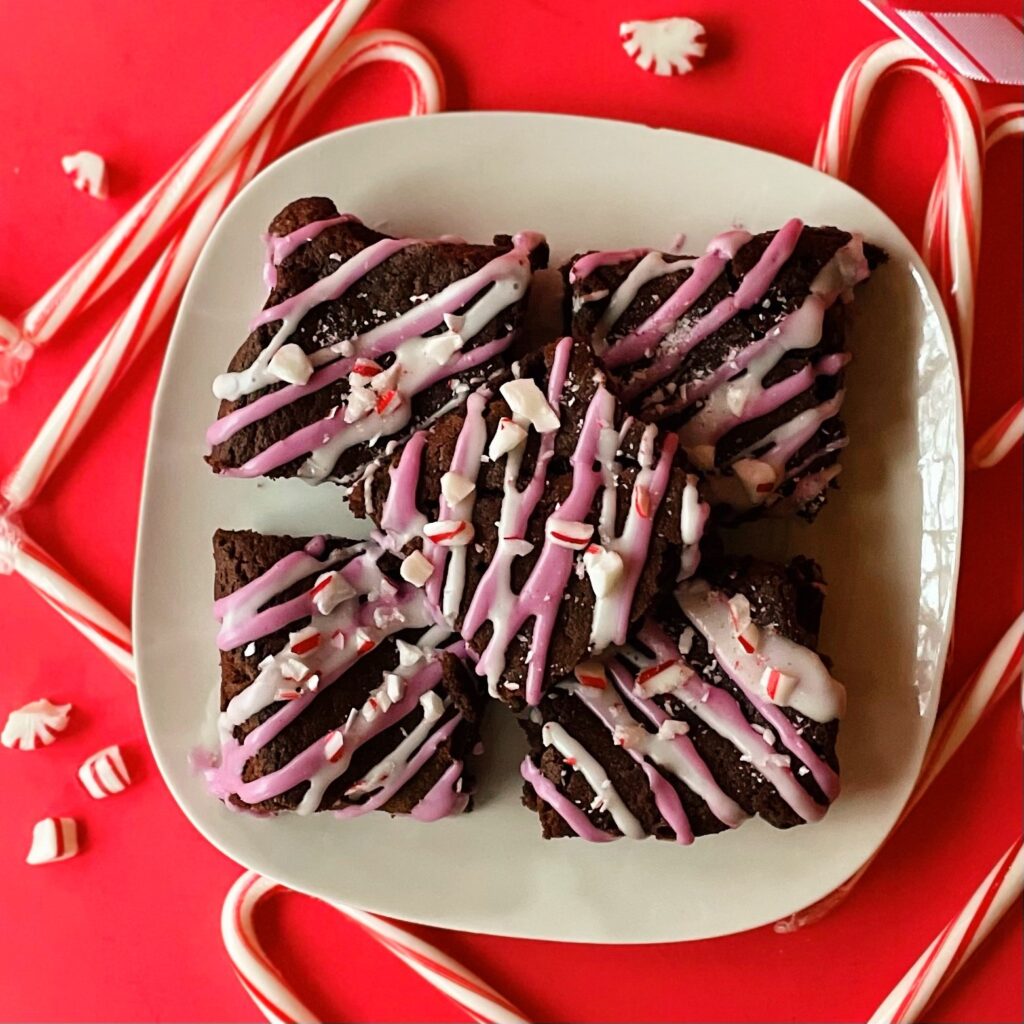
So step AWAY from the store bought mix and make my homemade version, which a deliciously moist cakey version that melts in your mouth! Recipe yields 9 large brownies made in an 8×8 pan.
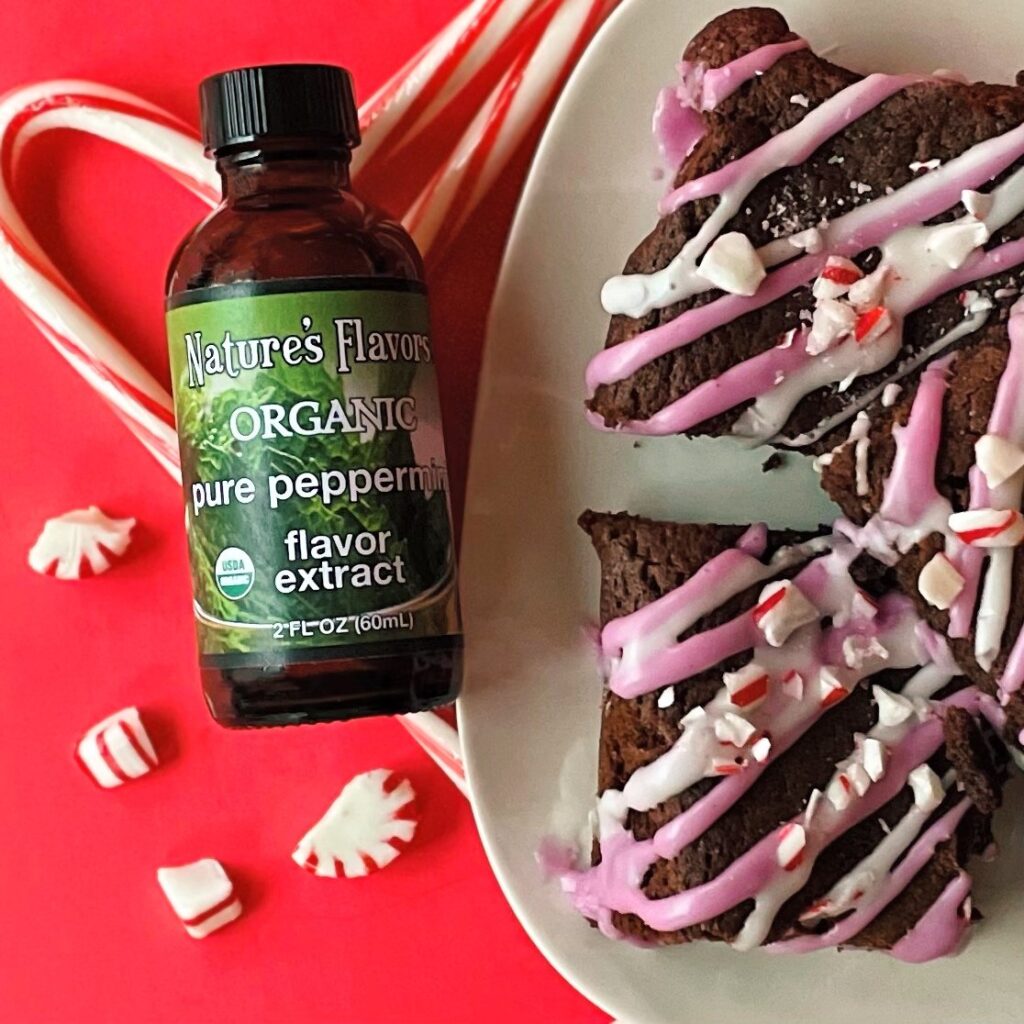
Visit Nature’s Flavors to find the Organic Peppermint Flavor Extract. Tip: This extract is top quality and doesn’t take as much as your typical one found in the grocery store.
Let’s begin!
Ingredients:
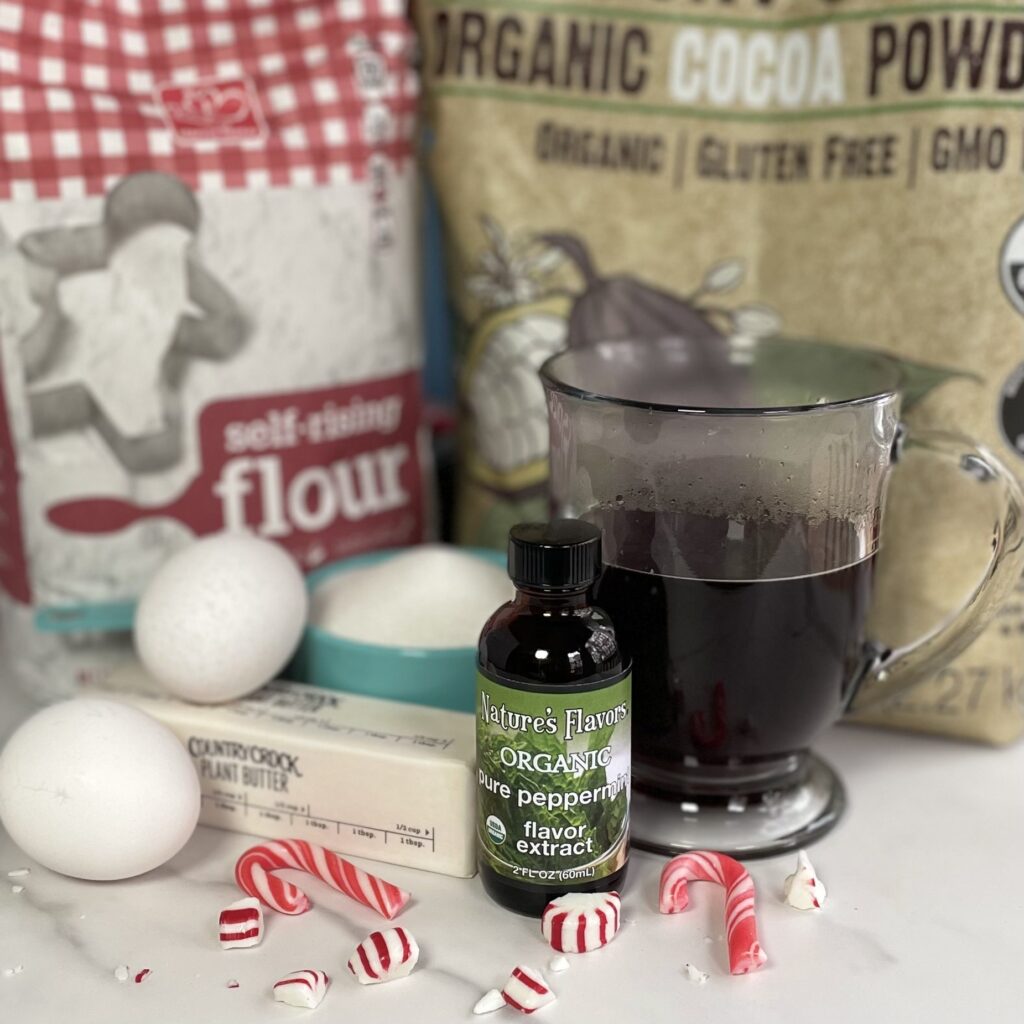
For brownies:
- 3/4 cup + 1 tbsp all-purpose flour
- 1/2 cup organic unsweetened cocoa powder
- 1/2 tsp baking powder
- 1/4 tsp salt
- 1/2 cup plant butter, melted (I use Country Crock)
- 1 cup granulated sugar
- 2 large eggs
- 2 tbsp strong coffee, brewed and cooled
- 1 tsp Nature’s Flavors Organic Peppermint Flavor Extract
- 1/4 cup crushed candy canes or peppermint candy
Peppermint Glaze Ingredients:
For peppermint glaze:
- 1 cup confectioners sugar
- 1/4 tsp Nature’s Flavors Organic Peppermint Flavor Extract
- 1 tbsp vanilla almond milk or water
Optional: red or pink food coloring
Optional garnish: Crushed candy canes or peppermint candies. (I just put them in a baggie and whack whack whack with a mallet!)
Instructions:
Preheat oven to 350℉/176℃ and line an 8×8 pan with parchment paper (leave a little overhang for lifting the brownies out of the pan.)
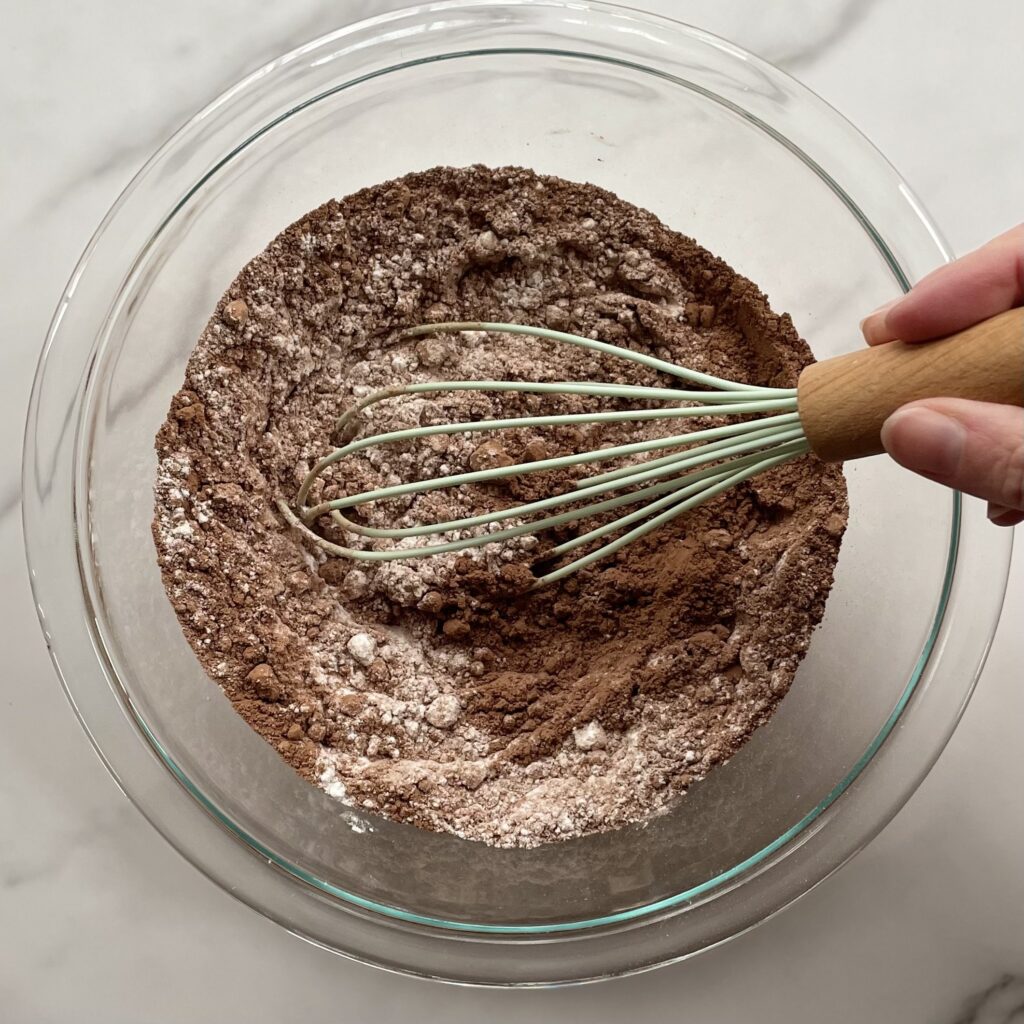
In a medium bowl, whisk together flour, cocoa, baking powder and salt. Set aside.
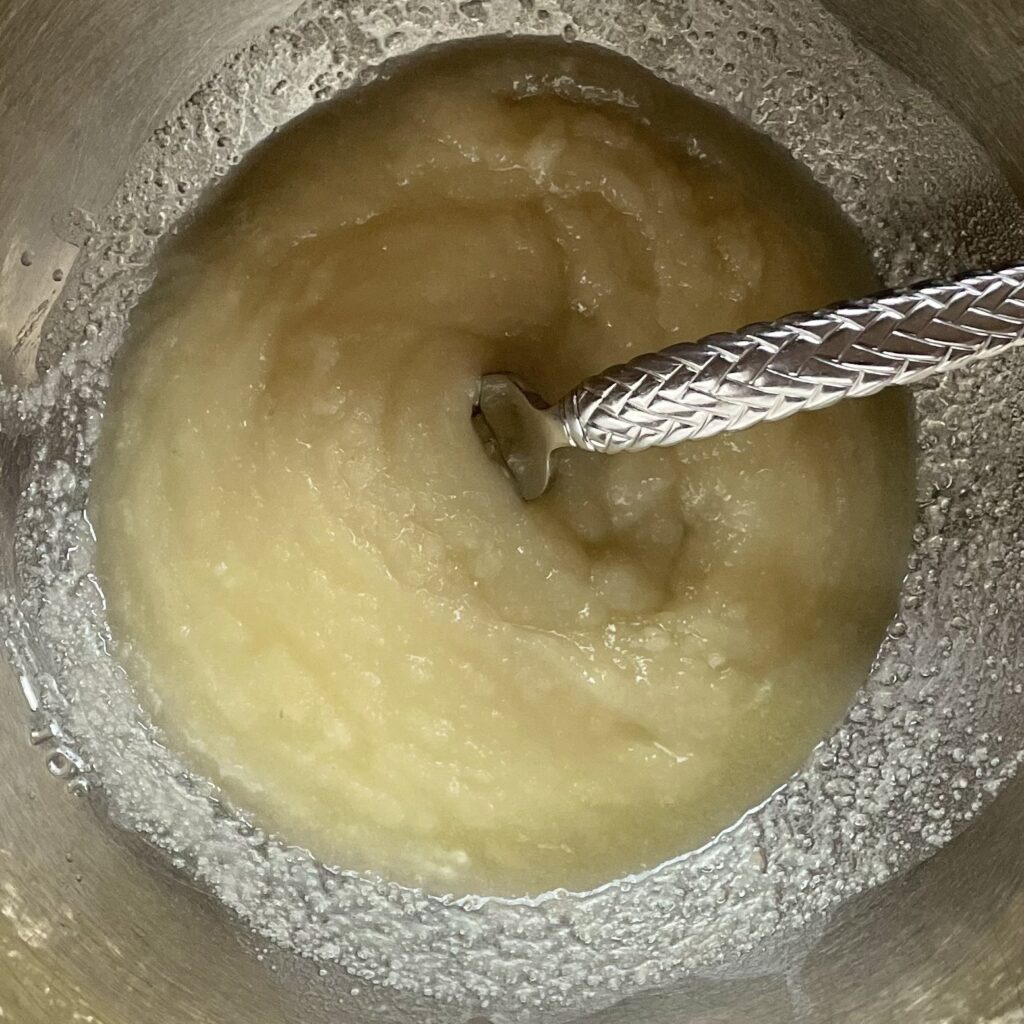
In a separate large bowl stir together butter and sugar until well combined using a fork.Next, add eggs, coffee and peppermint extract and stir until well blended.
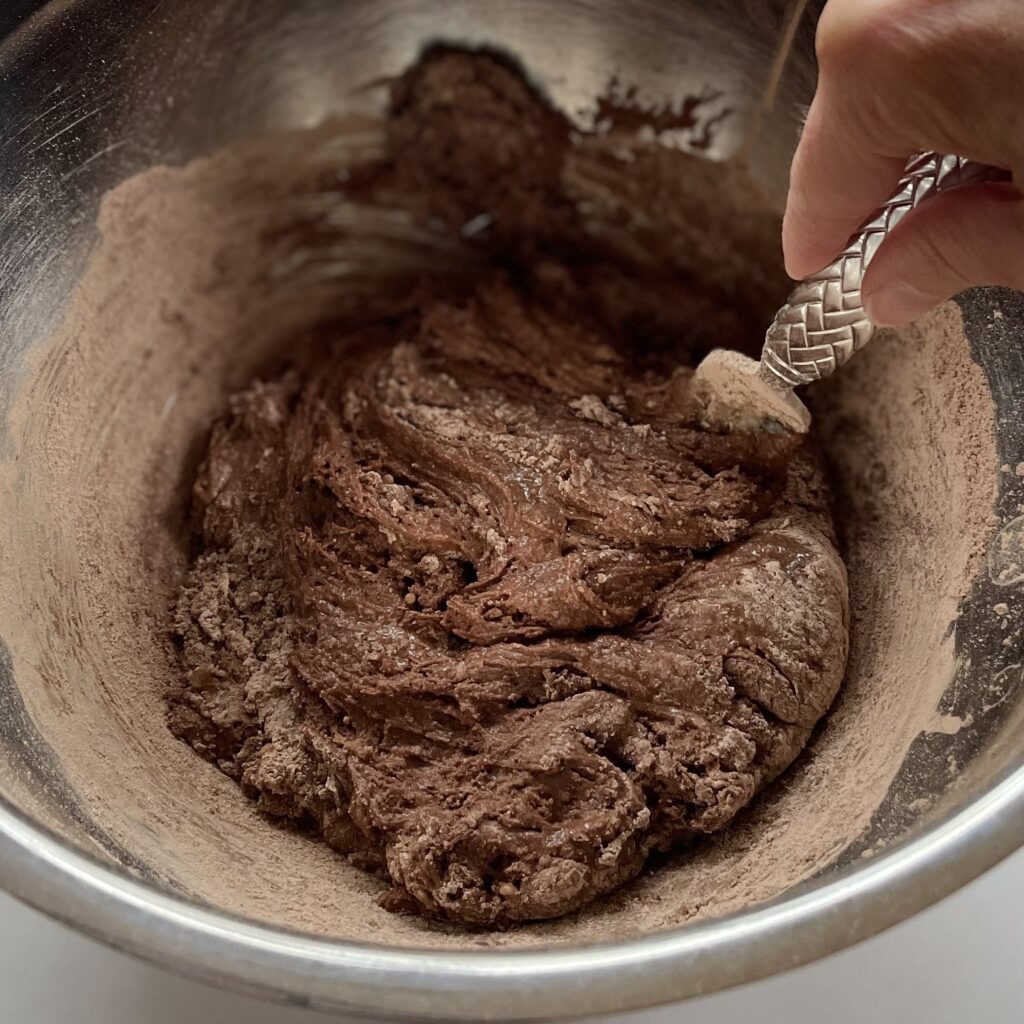
Add the flour/cocoa mixture and stir just until no dry ingredients remain (do not overmix.)
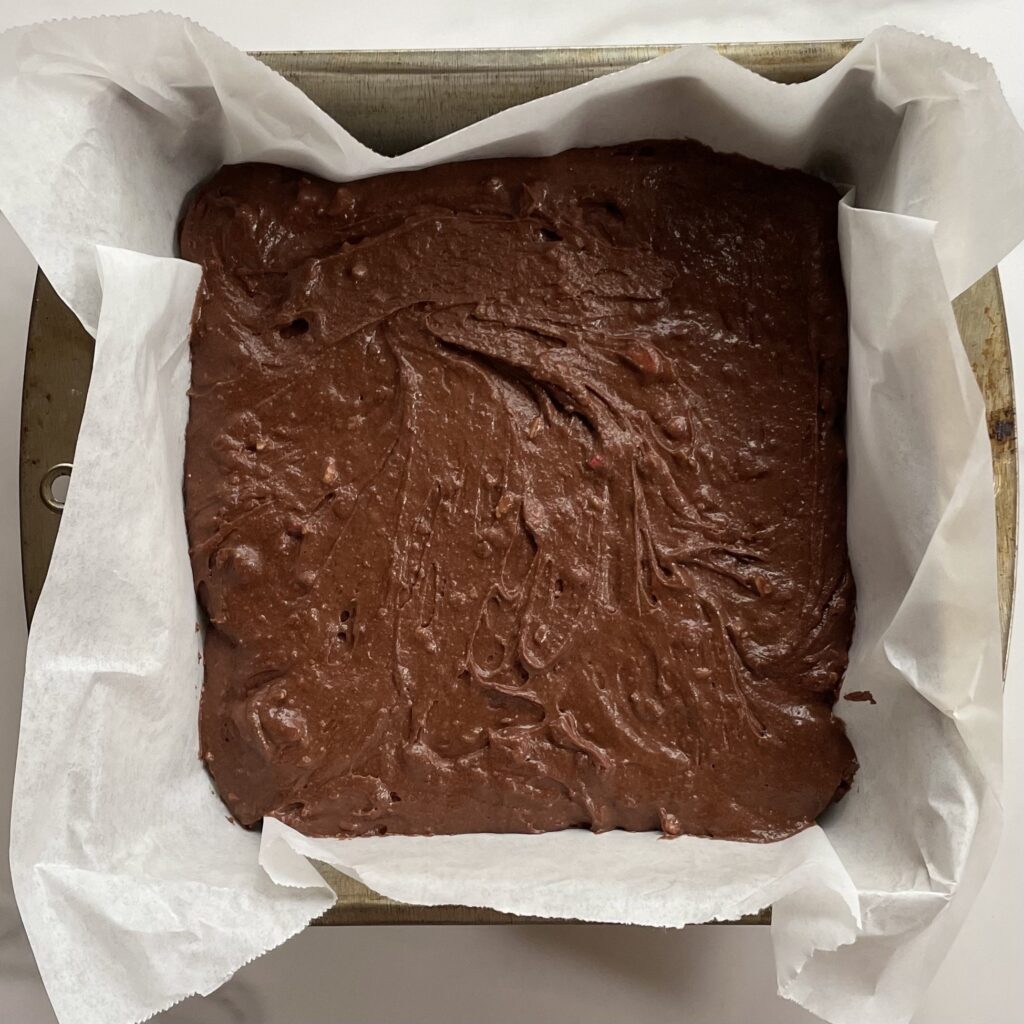
Pour batter into prepared pan and spread evenly to edges. Bake in center of preheated oven 25-30 minutes or until edges start to pull away from sides and center is completely baked (check with a toothpick in center until no wet batter is found.) Remove when done and let cool completely in pan on a rack.
How to make peppermint glaze:
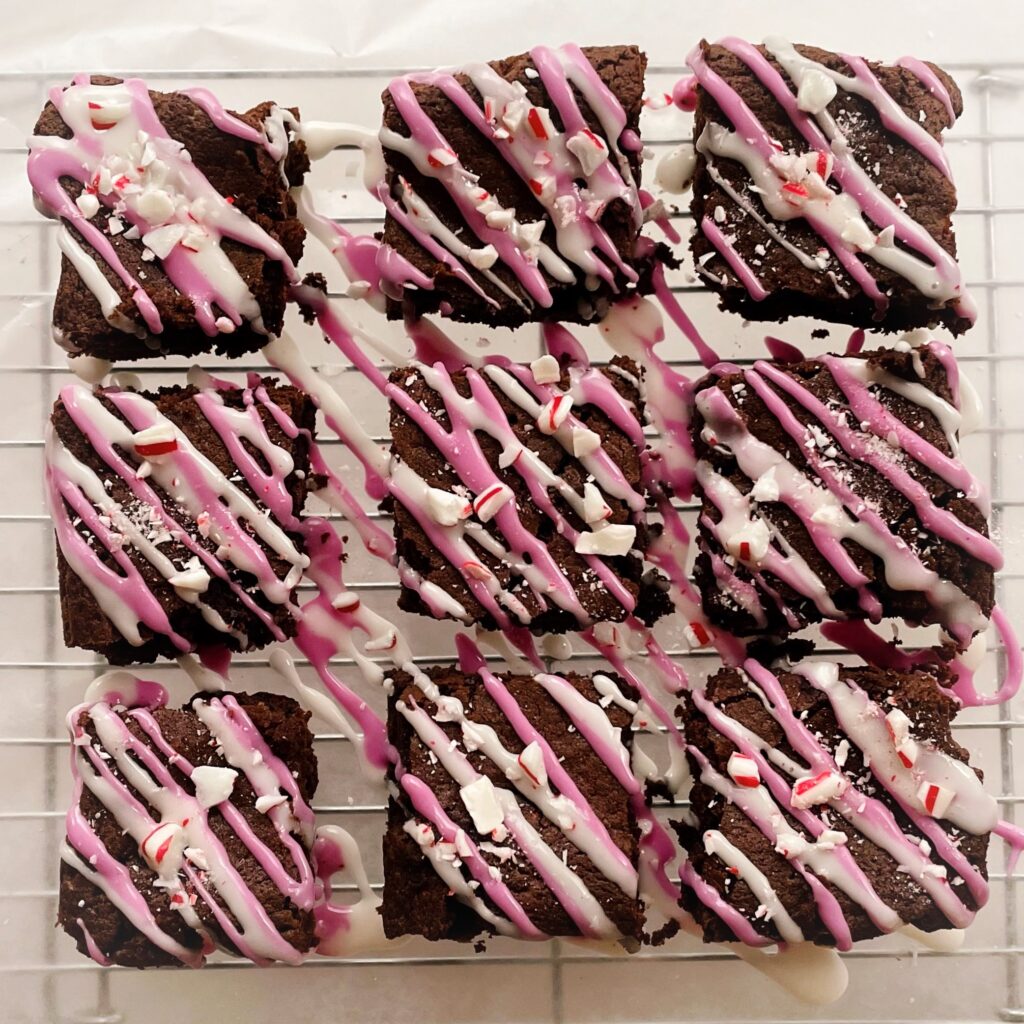
While brownies are cooling you can make the peppermint glaze:Add all ingredients to a small bowl and stir vigorously until smooth. Drizzle half of the glaze over the cooled and cut brownies, then add a few drops (or 1/8 tsp if using powder coloring) into the remaining half and stir until evenly colored, then drizzle over brownies. Add crushed peppermints or cane canes if desired and let set for 20 minutes.
How long will homemade brownies stay fresh?

Serve immediately or store in an airtight container at room temperature for up to 4 days or in refrigerator for up to 1 week. You can also freeze them safely for up to 3 months.
Enjoy!
❤️Julie
Easy Peppermint Brownies
Ingredients
- 3/4 cup + 1 tbsp all-purpose flour
- 1/2 cup organic unsweetened cocoa powder
- 1/2 tsp baking powder
- 1/4 tsp salt
- 1/2 cup plant butter melted (I use Country Crock)
- 1 cup granulated sugar
- 2 large eggs
- 2 tbsp strong coffee brewed and cooled
- 1 tsp Nature’s Flavors Organic Peppermint Flavor Extract
- 1/4 cup crushed candy canes or peppermint candy
- 1 cup confectioners sugar
- 1/4 tsp Nature’s Flavors Organic Peppermint Flavor Extract
- 1 tbsp vanilla almond milk or water
- Optional: red or pink food coloring
- Optional garnish: Crushed candy canes or peppermint candies. I just put them in a baggie and whack whack whack with a mallet!
Disclaimer:
Nutritional Information is provided as a courtesy only and should be viewed as an estimate. Ingredients can vary with brands and size and Inspiration Apron makes no guarantees to the accuracy of this information.
Instructions
- Preheat oven to 350℉/176℃ and line an 8×8 pan with parchment paper (leave a little overhang for lifting the brownies out of the pan.)
- In a medium bowl, whisk together flour, cocoa, baking powder and salt. Set aside.
- In a separate large bowl stir together butter and sugar until well combined using a fork. Next, add eggs, coffee and peppermint extract and stir until well blended.
- Add the flour/cocoa mixture and stir just until no dry ingredients remain (do not overmix.)
- Pour batter into prepared pan and spread evenly to edges.
- Bake in center of preheated oven 25-30 minutes or until edges start to pull away from sides and center is completely baked (check with a toothpick in center until no wet batter is found.) Remove when done and let cool completely in pan on a rack.
- While brownies are cooling you can make the peppermint glaze: Add all ingredients to a small bowl and stir vigorously until smooth. Drizzle half of the glaze over the cooled and cut brownies, then add a few drops (or 1/8 tsp if using powder coloring) to the remaining glaze and stir until evenly colored, then drizzle over brownies. Add crushed peppermints or cane canes if desired and let set for 20 minutes.
- Serve immediately or store in an airtight container. (See notes below on guidelines.)
I saw these on your Instagram and was immediately smitten. I love chocolate and peppermint together. Can’t wait to try these festive beauties!
Chocolate and peppermint are truly a match made in heaven! Thanks for commenting and enjoy:)