Easy Mini King Cakes
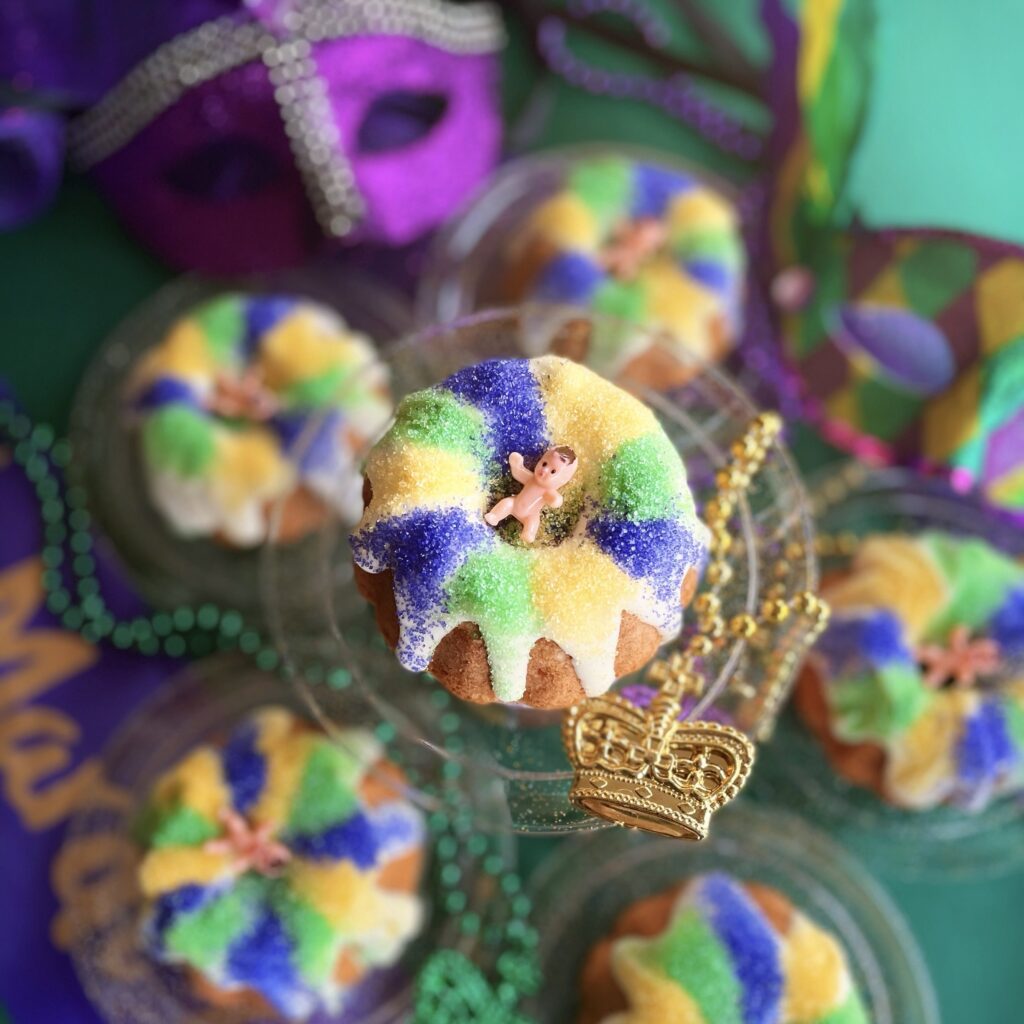
Mardi Gras King Cakes
These Easy Mini King Cakes are a breeze to make, yet very impressive and fun! With Mardi Gras right around the corner, I was inspired to create an easy recipe for this time-honored cake. A two-ingredient cinnamon flavor filling and I used heated store-bought icing and sprinkles for a quick decoration. Don’t forget your little babies (link provided below for the ones I recommend.)
What is the meaning of a King Cake?
The King Cake is said to be originated in France around the 12th century, originally served at the “Feast of Epiphany” “King’s Day” or “Twelfth Night.” Basically, it’s to celebrate the three wise men who came bearing gifts to baby Jesus after the twelfth days of Christmas. Originally, one bean or nut was placed inside cake before baking and whoever gets the slice with the surprise inside is said to be lucky and crowned “King” for the day. Also, the lucky one should provide the King Cake the following year.
Why is the King Cake associated with Mardi Gras?
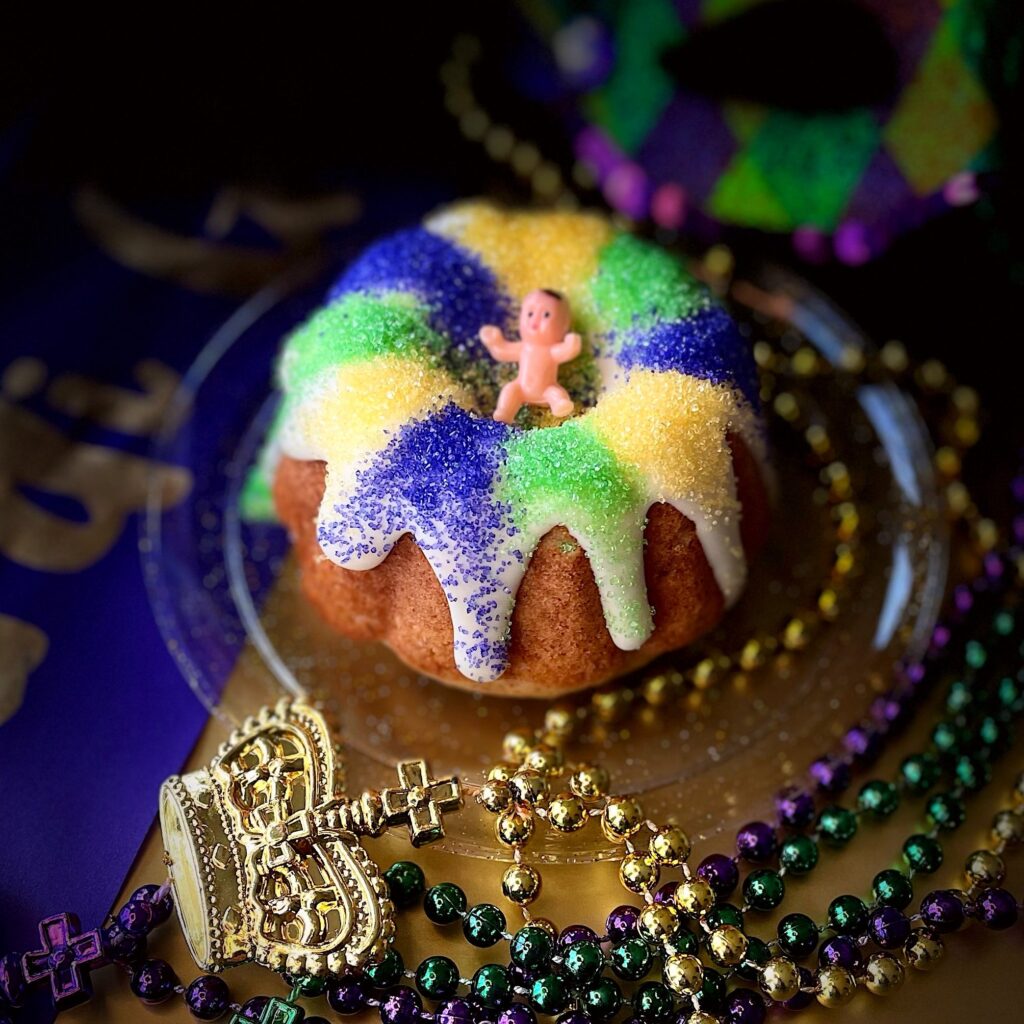
Louisiana was mostly settled by the French, and they were the ones who changed the bean or nut to a plastic baby to signify baby Jesus. Their “Twelfth Night” celebration ends with Mardi Gras Day.
What do the King Cake colors mean?
The green signifies “faith,” the purple “justice” and the gold “power.”
Personally, I love what the tradition of this cake means, as it was created to celebrate the birth of our King and savior. However, I think it’s sad to see what sinful and promiscuous things take place at the current Mardi Gras celebrations. You can still celebrate this traditional cake as it was originally intended though, and my easy version can be whipped up in no time. Traditionally, the cake is round and a cinnamon bread consistency. My recipe uses mini-Bundt cake molds to keep with the round tradition and an easy cinnamon muffin mix for the tradition flavor. Perfect for individual party cakes. You can decorate each one with a plastic baby or hide one baby in one of the cakes (in keeping with the tradition.) Makes six mini-Bundt’s.
Let’s begin!
Cake Ingredients:
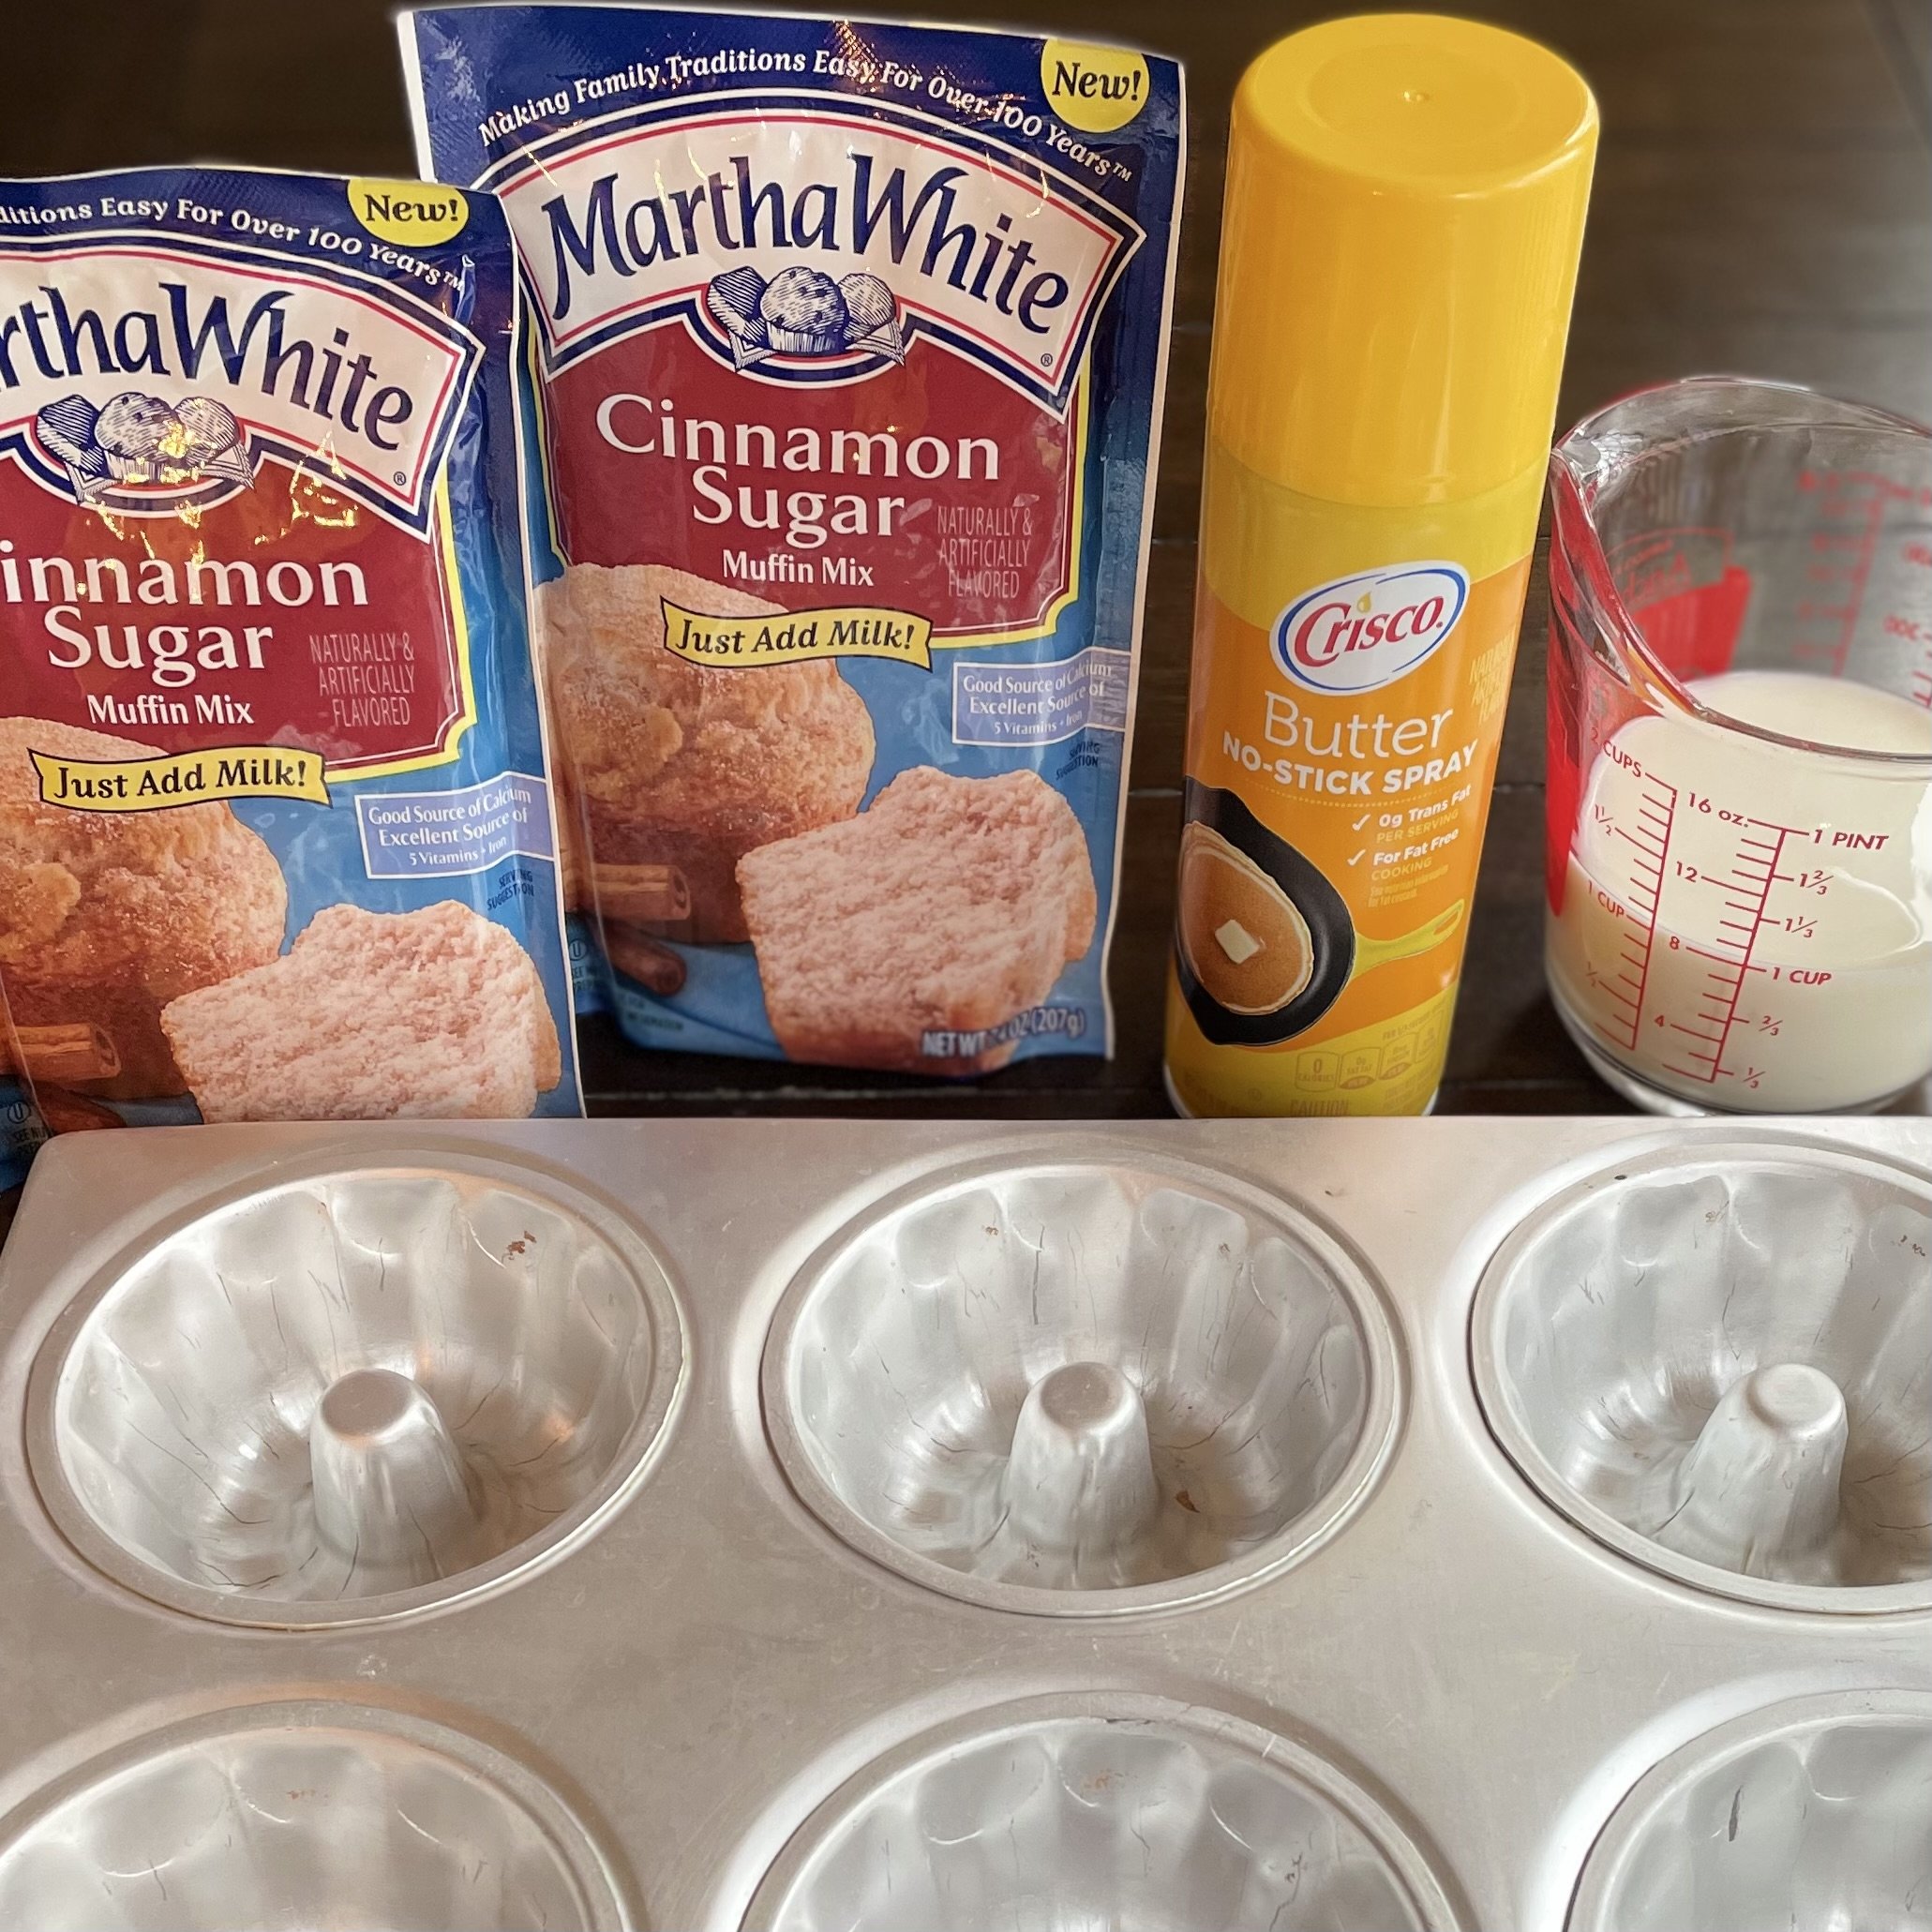
Cake Ingredients:
- 2 (7.4 oz) packages Martha White Cinnamon Sugar muffin mix
- 1 cup plant milk or regular milk (unsweetened vanilla almond milk recommended)
Additional Equipment:
- Six-cavity mini Bundt pan
- Non-stick cooking spray
Decoration Ingredients:
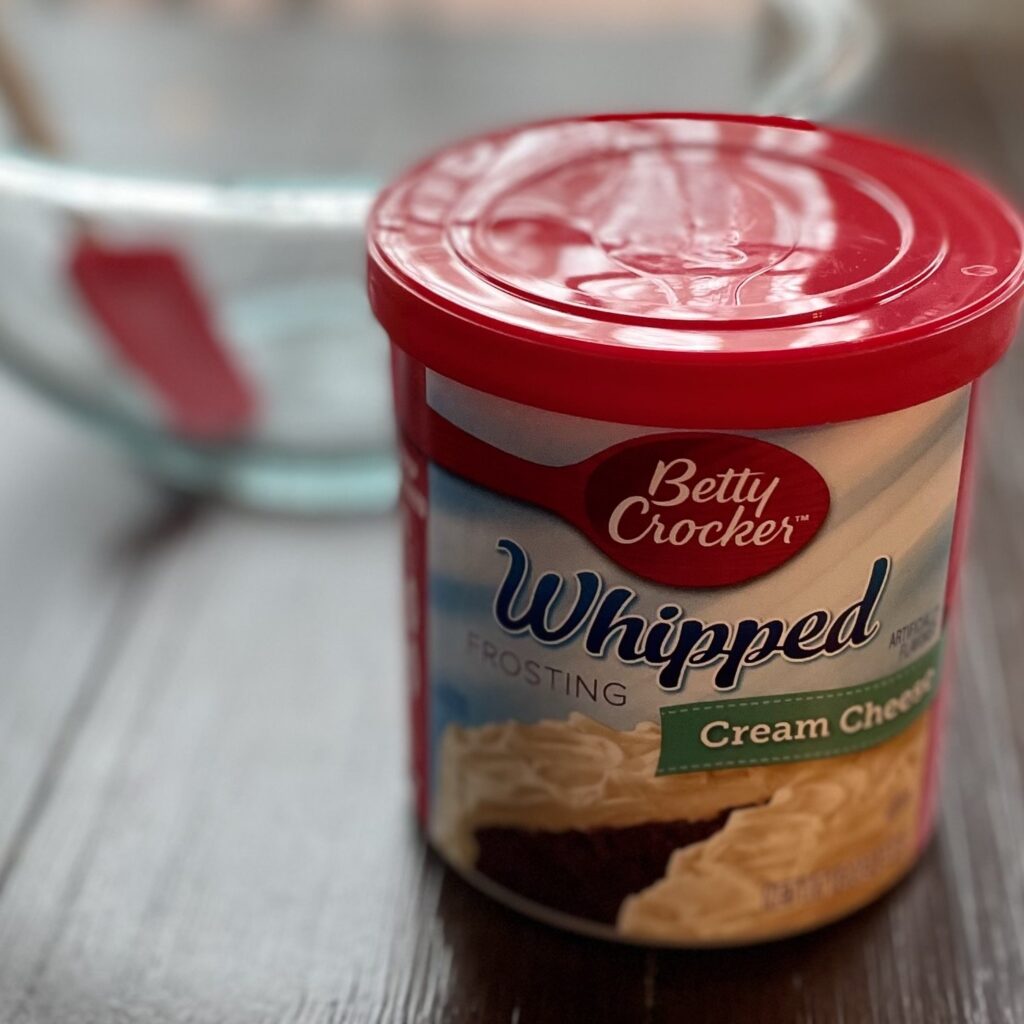
Ingredients:
- 12 oz can white store-bought icing (cream cheese or any white icing works)
- Green, purple, and gold (yellow) sprinkles
- Plastic mini babies (for traditional King Cake fun!)
Instructions:
Preheat oven to 395℉ / 202℃ and spray mini-Bundt cake pan with non-stick cooking spray.

In a medium bowl, empty both muffin mixes and add milk. Use a fork to stir and mix well, just until no lumps are present.
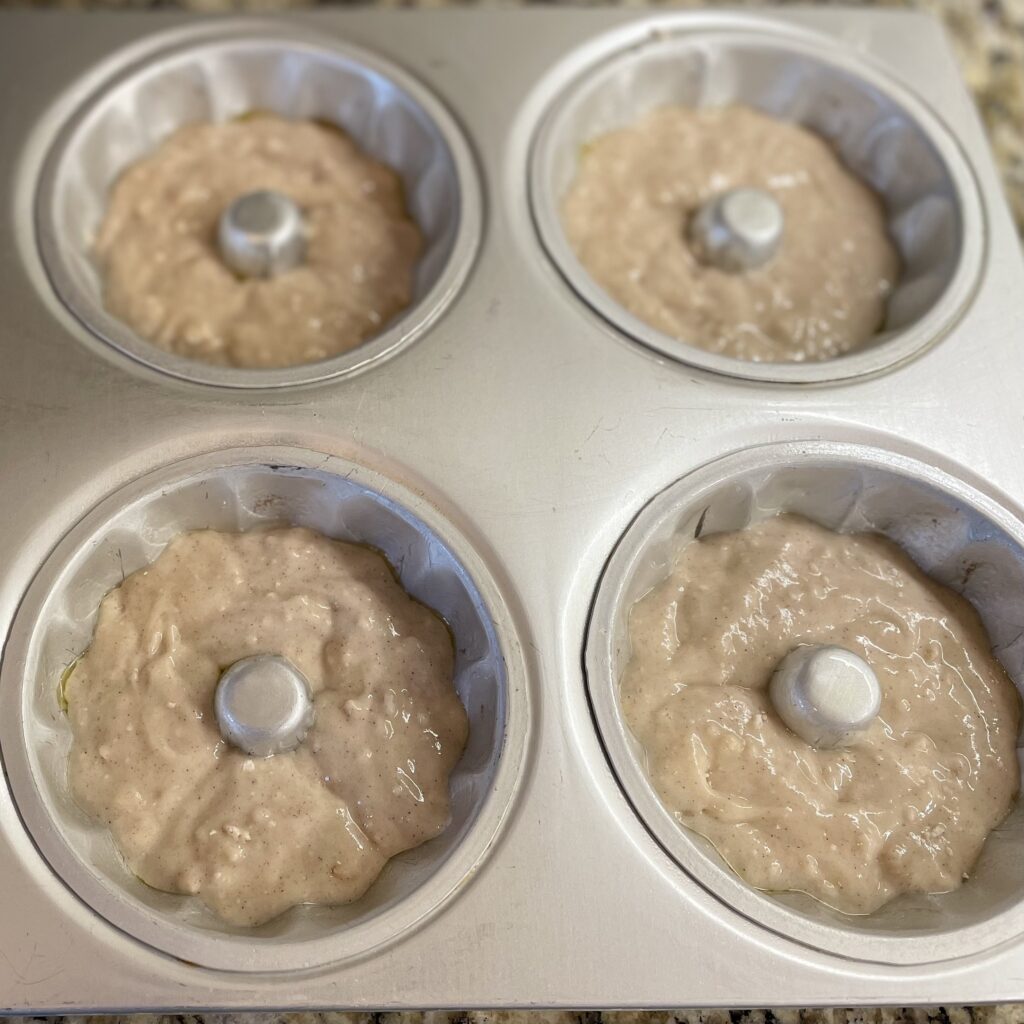
Evenly distribute Bundt cake cavities with the prepared batter. (about half full each)At this point, if you wish to add a bean, nut or plastic baby in one of them, push into the batter just until you can’t see it. (don’t worry about the plastic melting, it will not get that hot)
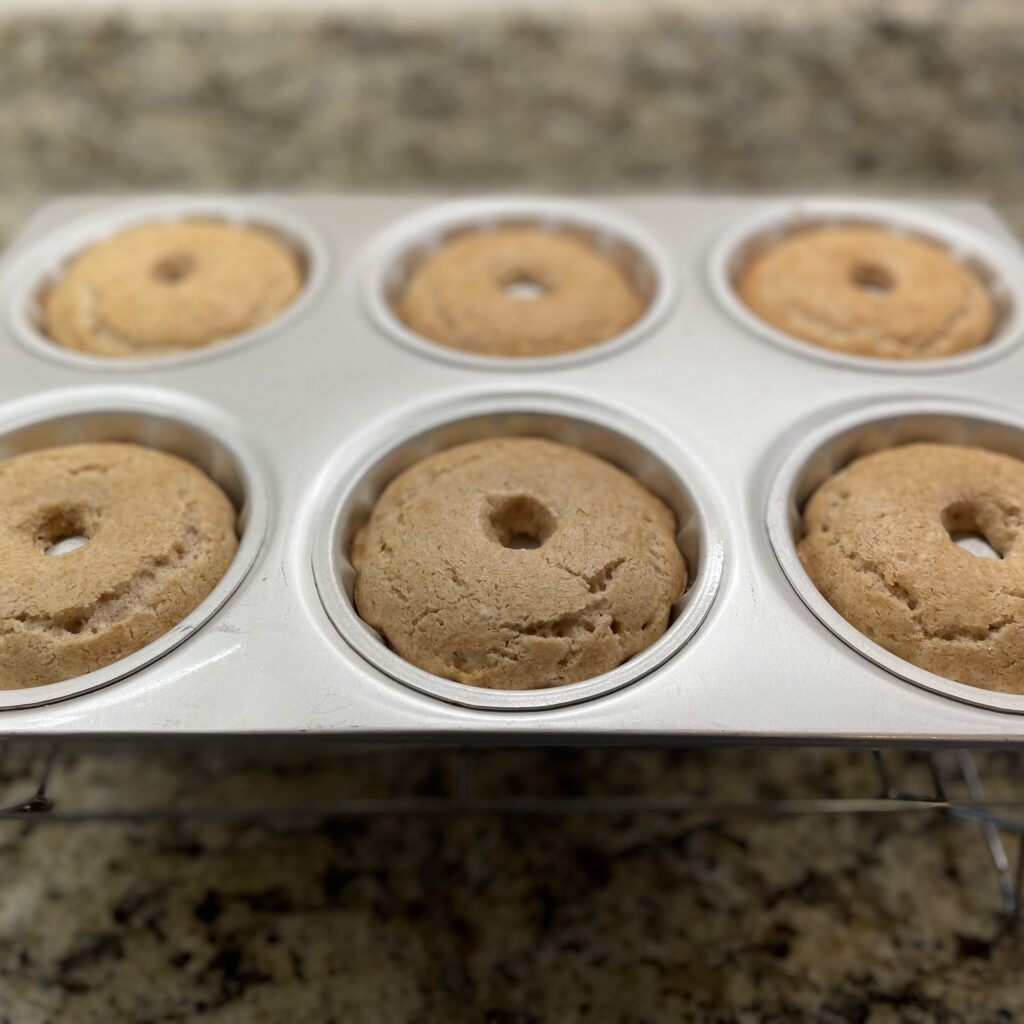
Bake on center rack for 13-15 minutes or until when checked with a wooden toothpick it comes out clean or with a few moist crumbs.Remove from oven and place on a cooling rack and let cool for five minutes. Next, unmold and let cool completely before decorating.
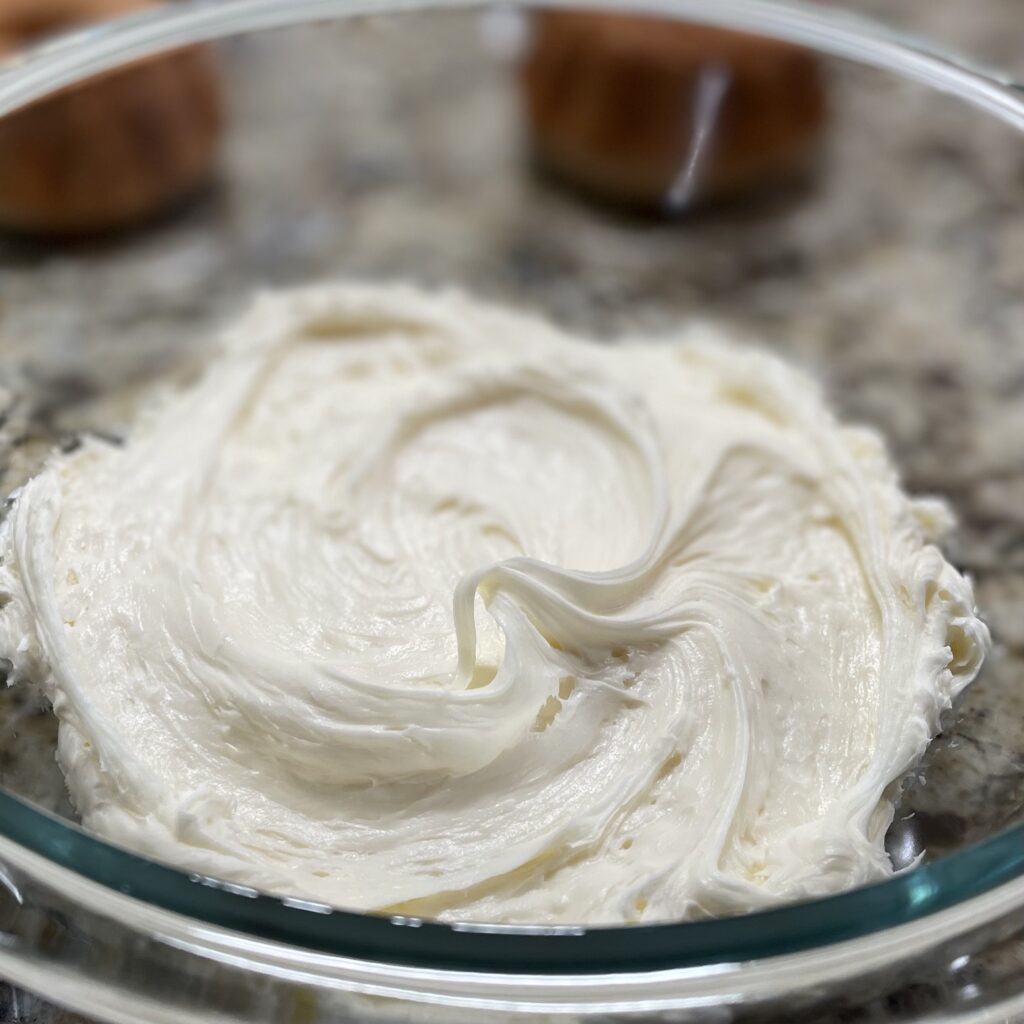
Transfer store-bought icing into a microwave safe bowl. Heat in 10 second intervals until pourable consistency is achieved, stirring after each time.
For me, it took only two intervals, but depending on your microwave strength, it could take longer.
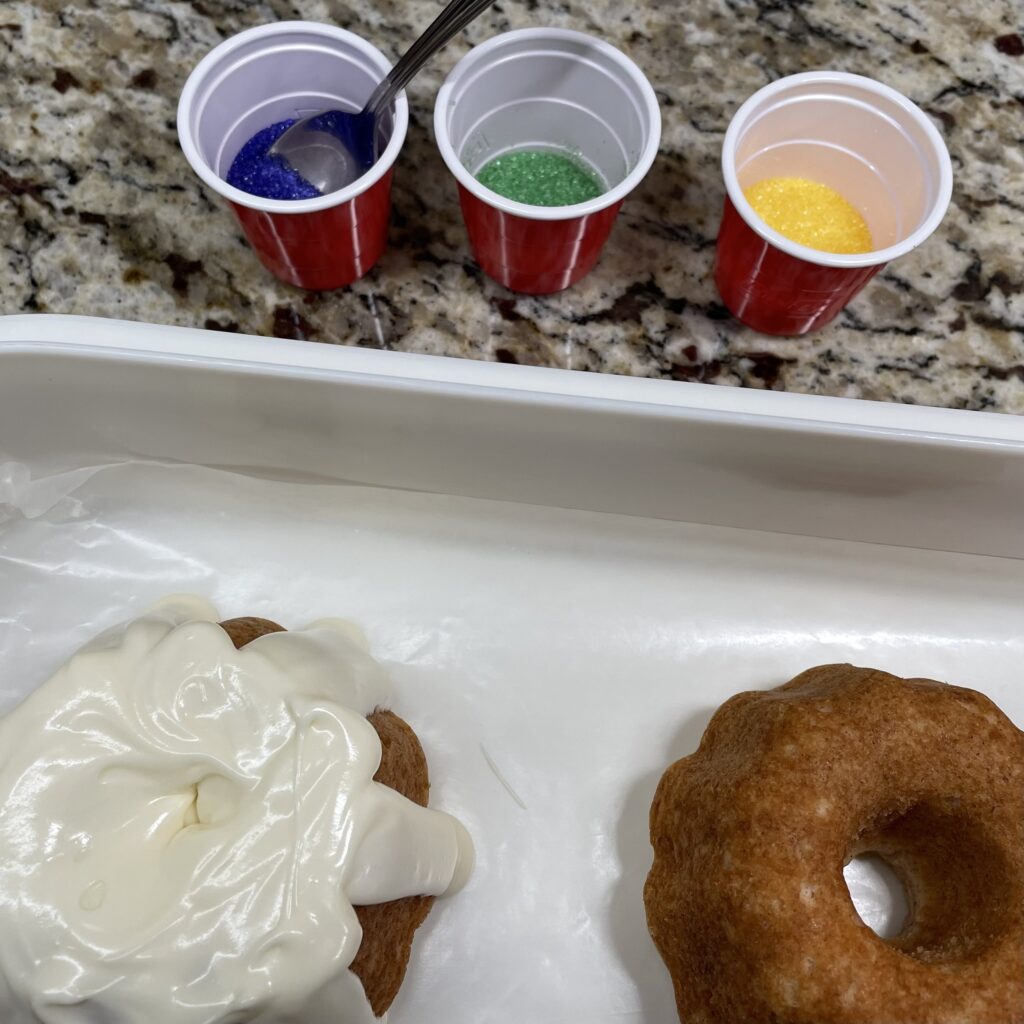
Prepare sprinkles and lay out cakes on waxed paper.Work with each cake, one at-a-time, in order for the sprinkles to stick to icing. Starting at the top of each cake, pour icing around and let drip down sides of cake.

If you wish, add a small baby to each King Cake and serve on individual party plates.

I found some fun and festive Mardi Gras decorations at the local dollar store and only spent $8 to decorate. Find the small plastic babies HERE.

Easy Mini King Cakes
Ingredients
- 2 – 7.4 oz packages of Martha White Cinnamon Sugar muffin mix
- 1 cup of plant milk or regular milk I used unsweetened vanilla almond milk
- 12 oz can of white store-bought icing I used cream cheese, but any white icing will work.
- green purple and gold (yellow) sprinkles
- Plastic mini babies
Disclaimer:
Nutritional Information is provided as a courtesy only and should be viewed as an estimate. Ingredients can vary with brands and size and Inspiration Apron makes no guarantees to the accuracy of this information.
Instructions
- Preheat oven to 395℉ / 202℃ and spray mini-Bundt cake pan with non-stick cooking spray.
- In a medium bowl, empty both muffin mixes and add milk. Use a fork to stir and mix well, just until no lumps are present.
- Evenly distribute Bundt cake cavities with the prepared batter. (about half full each)
- At this point, if you wish to add a bean, nut or plastic baby in one of them, push into the batter just until you can’t see it. (don’t worry about the plastic melting, it will not get that hot)
- Bake on center rack for 13-15 minutes or until when checked with a wooden toothpick it comes out clean or with a few moist crumbs.
- Remove from oven and place on a cooling rack and let cool for five minutes. Next, unmold and let cool completely before decorating.
- Transfer store-bought icing into a microwave safe bowl. Heat in 10 second intervals until pourable consistency is achieved, stirring after each time. (For me, it took only two intervals, but depending on your microwave strength, it could take longer.)
- Prepare sprinkles and lay out cakes on waxed paper.
- Work with each cake, one at-a-time, in order for the sprinkles to stick to icing. Starting at the top of each cake, pour icing around and let drip down sides of cake.
- Then, using a small spoon, alternate sprinkle colors from middle to outside in a line, each about 1 1/2- 2 inches wide.
- If you wish, add a small baby to each King Cake and serve on individual party plates.
